| Bonus Section! | |
| Step 21: Adding to Your Scene |
|
| Bonus Section! | |
| Step 21: Adding to Your Scene |
|
If you have completed all of your work and find yourself with some free time, this step will give you some ideas for adding to and improving your space scene.
Have a look at each section below and decide what you would like to add. Keep in mind that any additional work you do will earn you extra credit and make your space scene stand out!
Here are a few things to keep in mind if you choose to complete any of the items that follow:
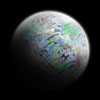
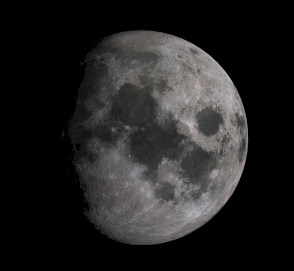
2D MOON
Repeat Step 13, but instead of using one of the satellite photos, find and use a picture of the moon...
Keep the following in mind:
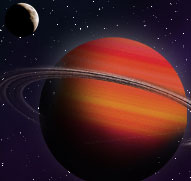
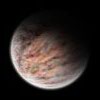
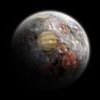
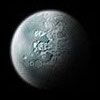
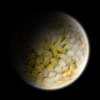
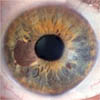
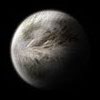
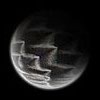
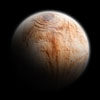
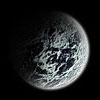
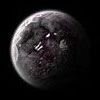
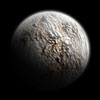
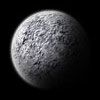
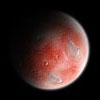
ADDITIONAL PLANETS
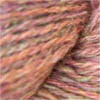
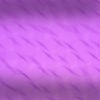
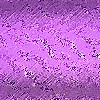
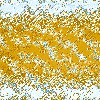
Repeat Step 13, but instead of using one of the satellite photos, use a unique image such as one of the following:
 |

 |
 |
 |
 |
|
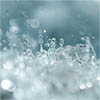
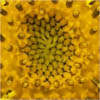
| Yarn | Marbles | Water | Sunflower | Duh... | |
|
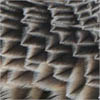
Or how about animals... |
|||||
 |
 |
 |

 |

 |
|
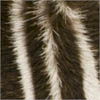
| Zebra neck | Bat skin | Eagle wing | Elephant head | Goldfish body | |
|
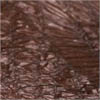
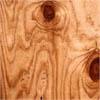
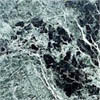
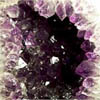
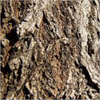
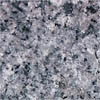
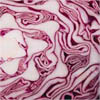
Or things with cool patterns already in them like rocks or wood... |
|||||
 |
 |
 |
 |
 |
|
| Pine | Marble | Geode | Oak bark | Granite | |
|
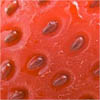
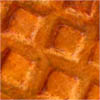
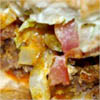
Or what about food... |
|||||
 |
 |

 |
 |
 |
|
| Strawberry | Waffle | Fried stuff | Cabbage | Hamburger | |
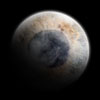
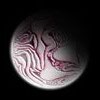
Or anything else you would like to use, just as long as you can't tell
what the object is. For example, take a look at the following image of a
Lamborghini Murcielago...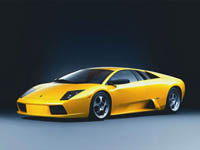 If we use this to create our planet, this is what we get... 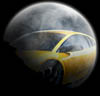 Obviously, there are no planets that look like this (though how awesome would it be if there were), so avoid doing this as it will actually hurt your grade instead of help it. |
|||||
 |
 |
 |
 |
 |
 |
 |
| Fill with color | Stain glass filter | Draw shading | Motion blur | Spray strokes | Sharpen | Gradient map |
|
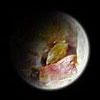
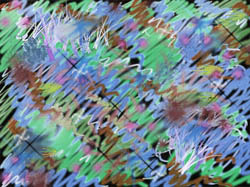
It took several steps, and I actually just played around
and selected stuff at random, but I ended up with a pretty cool pattern that
makes an awesome planet... |
||||||
Keep the following in mind:
YOUR HOME PLANET
This involves putting an image of the ground at the bottom of your space scene so that it looks like you are standing on the planet looking up at the sky...
Keep the following in mind:
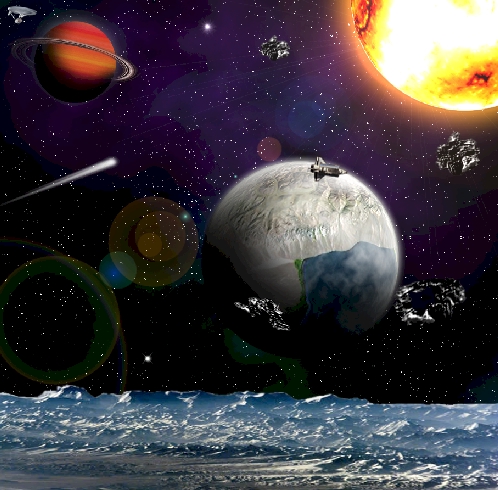
SPACE SHUTTLE
Find a picture of the space shuttle on the Internet and place it in orbit around one of your planets...
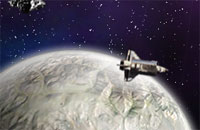
Keep the following in mind:
SATELLITES
Find a picture of a satellite on the Internet and place it in orbit around one of your planets...
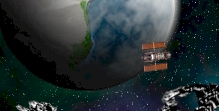
Keep the following in mind:
ALIEN INVADERS
This one has your solar system being invaded. Go online and find images showing spaceships and place them in your scene...
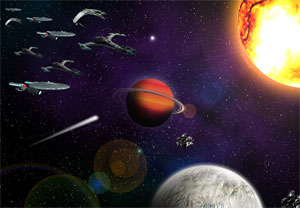
Keep the following in mind:
DISTANT GALAXIES
There are 6 different types of galaxies...
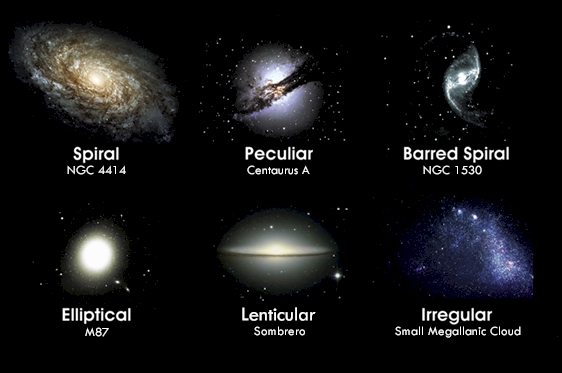
Each can give your space scene a little extra flair, but it is difficult to make them look realistic. To help you out, I have put together a separate tutorial that covers in depth how to create 3 different spiral galaxies and gives you pointers on how to create the other 5 types.
Head over to the Adding a Galaxy to Your Space Scene tutorial to find out how add a galaxy to your space scene (hence the name).
Here is what a spiral galaxy looks like in the space scene...
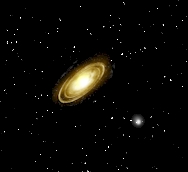
Keep the following in mind:
ASTEROID BELT
You could create tons of asteroids the same way you did in Step 16 and shrink them down so that you have a nice asteroid belt...
but a better way is to take one of the asteroids from Step 16 and use it to create a custom brush. We don't have time in this lesson to cover how to do this, so if you are interested in this you will need to find instructions for doing this online - there are tons of places that will show you how.
Keep the following in mind:
3D Moon
This one involves using Photoshop's 3D tools and can be a little complicated, so don't start it unless you have time to finish it. The 3D moon is different from the 2D moon above in that the 3D moon is actually a 3D object and can be rotated and manipulated in 3D space, unlike all of the other images we have created up to this point.
To complete this, you will need the moon map located here: Moon planetary map. Simply click the link to open the moon map in the browser, then right-click on the moon map and save it to your Photoshop folder and then read and follow the directions linked below.
The directions to create the 3D moon are located here: 3D Moon.
Keep the following in mind:
PLANETS IN MOTION
This one is complicated, so if you choose to do it be sure you have enough time to complete it. For this you will need to take your planets and animate them so that they orbit your star (yes, it is possible for your planet to move around the star even while the star is in the corner of your scene). You can make your planets move the same way you made your spaceship fly across the screen.
Keep the following in mind:
Remember, save any work you do on this step as STEP21 - do not save your work to your Space, step20, or Final file.
01 | 02 | 03 | 04 | 05 | 06 | 07 | 08 | 09 | 10 | 11 | 12 | 13 | 14 | 15 | 16 | 17 | 18 | 19 | 20
