| PART I: YOUR FACE | |
| Step 08: Completing Your Face |
|
| PART I: YOUR FACE | |
| Step 08: Completing Your Face |
|
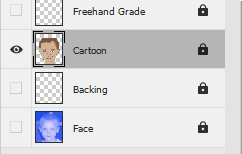
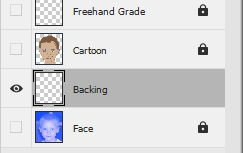
So far we are looking pretty good, but we still have that problem with the clear 'shadow' around our lines. The Backing layer is about to come to our rescue.
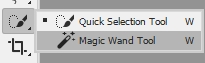
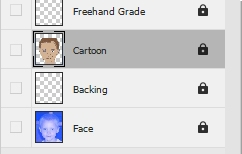
The Magic Wand Tool is used to make selections of large areas of the same color, or in our case an absence of color.
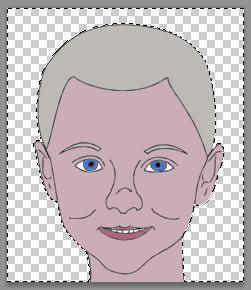
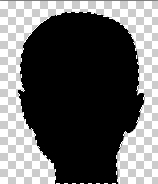
We actually don't want to do anything with the transparent area around your head, instead we want to add some black ink behind your head. We need to invert (or reverse) our selection.
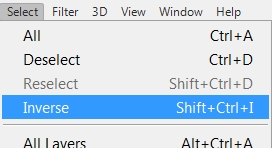
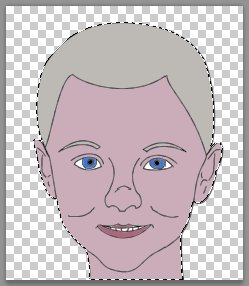
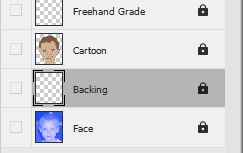
Notice that there should still be a transparent selection in the shape of your head...
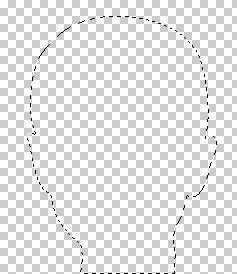
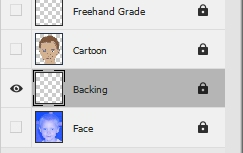
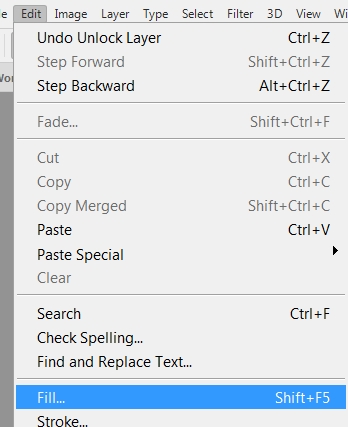
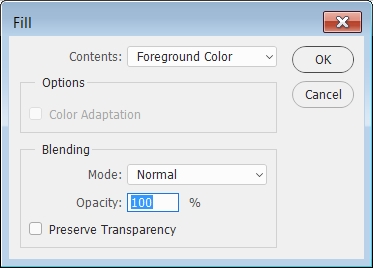
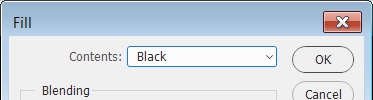
Let's fill this selection with black.

If you zoom in on your line now you should notice that it has nice, smooth edges...
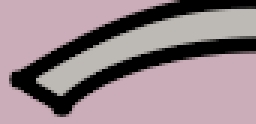
This is the same eyebrow area that was zoomed in on the
last Step
This will do it for your work on your face. Take the time now to look over your face and make sure you are happy with it as we will be closing it and won't be using it again until Step 19. If there is anything you don't like, take the time now to fix it.
This marks the end of Part I: Your Face. Be sure your file is saved correctly. In the next step, we will begin work on Part II: The Space Scene, where we will create an amazing space panorama!
01 | 02 | 03 | 04 | 05 | 06 | 07 | 08 | 09 | 10 | 11 | 12 | 13 | 14 | 15 | 16 | 17 | 18 | 19 | 20