PART II: The Space Scene
Step 15: Comet

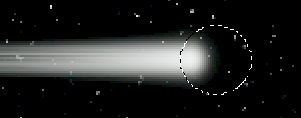
This step is short, but will allow us to create a very effective comet.

  1. Open your Space file in Photoshop
  2. Insert a new layer and name it Comet - make sure it is at the top of the layer stack
  3. Click the Brush Tool and set the brush to Soft Round and the Size to 21 pixels; Opacity and Flow should be set to 50%
  4. Turn on your Star Field and Nebula layer groups and find a good spot to place your comet (remember that you can always move it later)
  5. Set the foreground color to white
  6. Click several times (around 10 clicks works good) in one spot to create the dot that will become our comet's head (the same advice applies here from when we were creating the bright stars - don't click and drag, just click several times in one spot)
  7. Click Filter then point at Stylize and click Wind to open the Wind filter window...

    This will allow us to streak the comet as if it is being blown by the wind
  8. Set the Method to Wind and the Direction to From the Right (you will be able to rotate the comet later)
  9. Click OK - this should give your comet a tiny tail...
  10. Repeat directions 7 - 9 above two more times so that you have something similar to the image below...

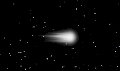
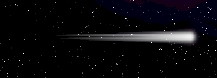
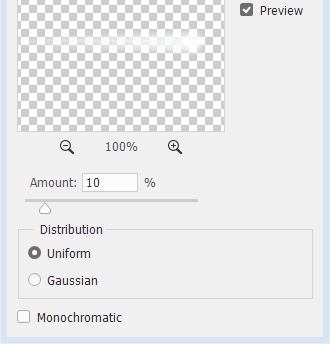
This comet is a bit too perfect (it is too smooth), so let's make it look like a ball of ice flying through space with pieces flying off of it.

  1. Click Filter then point at Blur and click Gaussian Blur...
  2. Set the Radius to 1.0...
  3. Click OK
  4. Use the Elliptical Marquee Tool to select just the head of your comet (you may want to zoom in so you only get the head of the comet)...
  5. Click Select and click Inverse to change the selection to everything but the head (which in this case is just the tail)
  6. Click Filter then point at Noise and click Add Noise...
  7. Change the settings to match those in the image below...

    This should give us a tail that has a slight blur and some nice graininess so that it looks like it is in motion and the tail is actually composed of ice particles but leaves the head a solid white ball
  8. Click OK
  9. Press Ctrl+D (remember what that does?)

OK, science lesson time: comets are chunks of ice and dirt flying through space. A comet's tail occurs when the high energy particles being ejected by stars impact the comet's head and burns off some of the surface material and flings it into space. Therefore, comet tails always point away from a star. Which means that when the comet is flying away from the star, its tail is in front of it and the comet is actually flying through its tail.
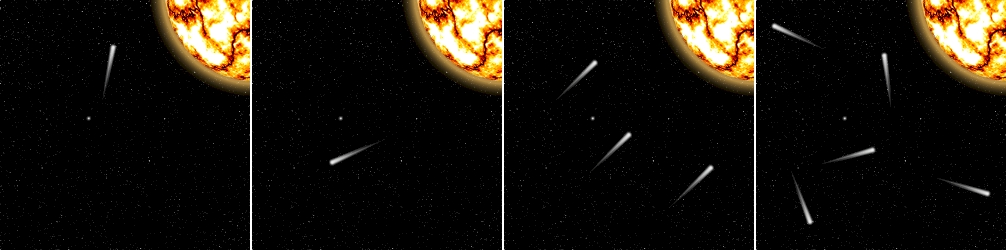
 The point is, no matter where you put your comet, make sure the tail points away from the center of the star.
In other wor
ds, comets ALWAYS look like they are flying into the CENTER of the sun.

Take a look at the images below...

Unfortunately, they are all physically impossible. Remember that we are going for realism with our space scene, so DON'T BREAK THE LAWS OF PHYSICS.
If you want to include multiple comets that's fine, just make sure that they all look like they are flying into the center of your sun.

  1. Click Edit then Free Transform to rotate your comet so that it appears to be flying into your sun (you may also resize your comet at this point if you like, but be careful not to make it too large as it will look unnatural)
  2. Lock your Comet layer - your Layers panel should now look like this...

You should now have a space scene similar to the one below...

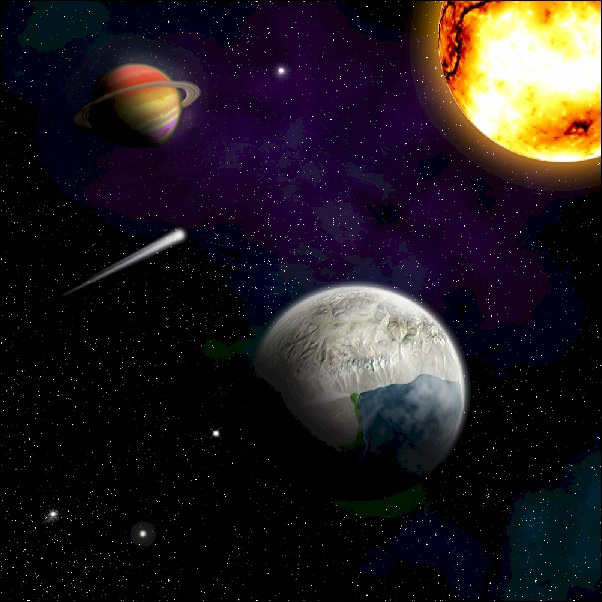
Now let's throw in an asteroid or two.....or three.

  1. Save your Space file

01 | 02 | 03 | 04 | 05 | 06 | 07 | 08 | 09 | 10 | 11 | 12 | 13 | 14 | 15 | 16 | 17 | 18 | 19 | 20