|
PART II:
The Space Scene |
|
Step 17: Lens Flare |
 |
Let's add a quick artistic element to our image by inserting a nice light
reflection on our sun before we wrap up this long and very educational part of
this project.
- Open your Space
file in Photoshop
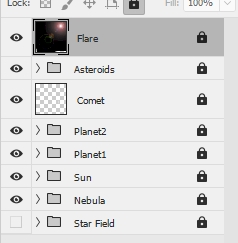
- Insert a new layer at the top of the layer stack and name it Flare
- Fill the Flare layer with black
- Change the blending mode of the Flare layer to Linear Dodge
(Add)
- Click Filter and point at Render and click Lens Flare
(the Lens Flare filter simulates the spots in a picture that results from light reflecting off a camera's lens)
to open the Lens Flare window...
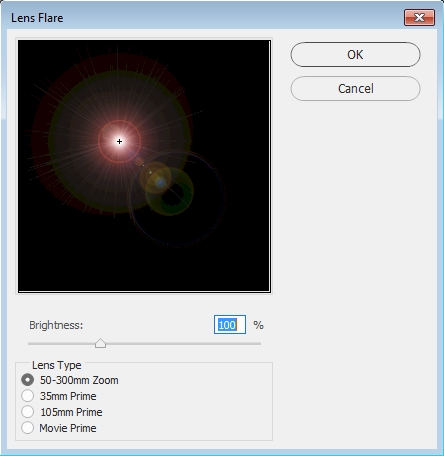
- Click through each of the Lens Type options (the
four Lens Types represent different
kinds of lenses you can put on real cameras) and
see what type of flare each one creates - note that the different types
allow for a large amount of variety
- Click the 50-300mm Zoom
- Set the Brightness percentage to
125% - this will give us a lens flare that is bright enough so that we
can see where it is and how it impacts our overall scene (keep in mind that
we will be able to adjust its brightness later)
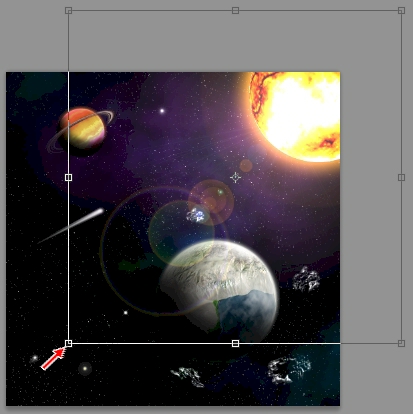
- Your flare is likely sitting somewhere near the middle of the flare
preview window as in the image above, but we need it to stretch away from
our sun which should be sitting in one of the corners of our image - click
in the Lens Flare preview window towards the corner where your sun now
lives...
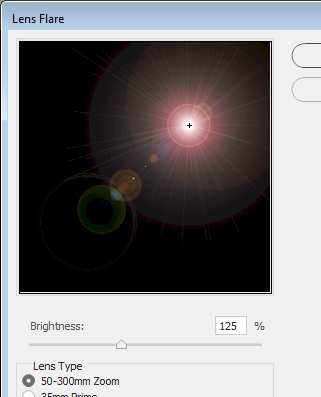
Be careful not to go too far into the corner as parts of your flare will be
outside the viewable area and you won't be able to see them in your image
- Click OK
Take a close look at your flare. If any part of your flare away from the
bright light is cut off like the image
below...
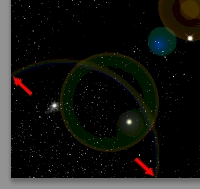
You will have problems because when you reposition your flare to put the
bright spot on the sun this will happen...
Notice how the final circle is now incomplete? We want to avoid having chunks
of our flare missing because it is not realistic.
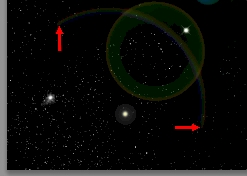
- Look over your lens flare - if part of it is cut off like the image above,
press Ctrl+Z to undo the flare and then repeat directions 5-10 to
reapply it, but this time do not click so close to the corner in direction 9
The size of the preview window limits the size of the flare that we can apply at this point, but
don't worry as we can change the size of the flare in the coming directions to
make it stretch across the entire scene if we wish.
You should now have something similar to the image below...
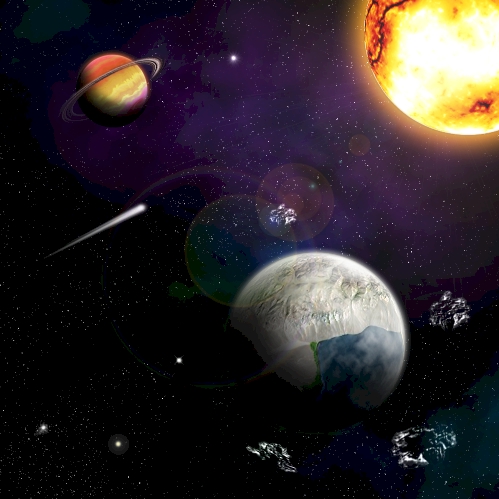
Since we couldn't click in the very corner where our sun is, our flare is
obviously not sitting on our sun and at this point looks as
though it is a completely different object. Let's move it onto the sun so it
looks like the light is coming from the sun.
- With the Flare layer selected, click Edit then click Free
Transform
- Click and drag the flare until the white area is on top of
your sun...
- If you want your flare to stretch farther across your scene, press and
hold the Shift key as your drag the resize handle pointed at with the red
arrow in the above image to increase the size of the flare - if you are
happy with the current size of your flare, go to the next direction
- If you want your flare to sit at a different angle, rotate the flare
until it sits at an angle you like - if you are happy with the current angle
of your flare, go to the next direction
- Decide if you are happy with how bright your flare is in comparison to the
rest of your scene (the flare should be an additional element in the image
and NOT the image's focal point), if you think it is too bright, simply lower the
Opacity of
the Flare layer until your flare is a brightness you like
- Lock the Flare layer...
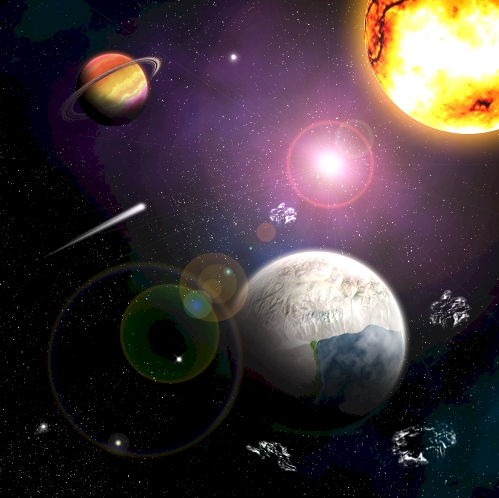
With all of your layer groups and layers turned on you should now have a space
scene similar to the one below...
For the image you see above, I increased the size of the flare, rotated it
up just a bit so that most of the flare did not cover the planet, and lowered it's
Opacity to 50%.
-
Save and close your Space file
This marks the end of Part II: The Space Scene.
All we have left to do is get a nice spaceship with you as the pilot and get you
flying through space, which is
Part III: The
Animation!
01 |
02 |
03 |
04 |
05 |
06 |
07 |
08 |
09 |
10 |
11 |
12 |
13 |
14 |
15 |
16 | 17 |
18 |
19 |
20