|
PART III: The Animation |
| Step 18: Preparing the Spaceship |
 |
Before we can launch ourselves into space we need a ship. Luckily for you, I
have already created one (you're welcome), but it is unfinished. We will take
time in this step to give our ship some color, give it a name and a logo, and
prepare it for flight.
- If you still have your Space file open go ahead and close it now - we
will not need it again until Step 20
- Open Photoshop and surf to the techclass\Mr. OKilen\Template\GDI\Photoshop
Tutorial folder and open the file named Ship.psd...
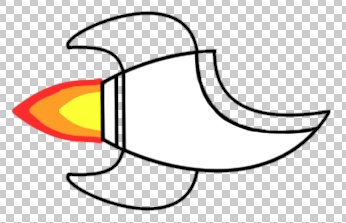
You may notice at this point that your ship lacks color in several places.
Your first task will be to select a color and fill in the four areas of your ship
that need color...
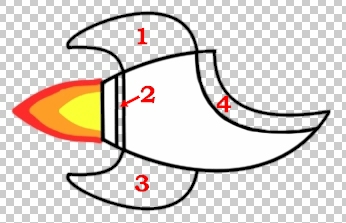
- Decide what color you want to use to fill in your ship - I'm going to fill
the four areas of my ship with red
You have probably noticed by now that I have already provided you with two layers
in your layer stack...
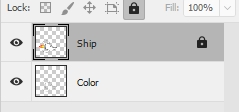
The Color layer contains a simple, solid outline of
your ship that you will insert your color on. The Ship layer contains a
feathered outline of your ship, the white portions, the flame at the back, and
is locked (don't mess with it).
By using two different layers to add in our color, we can be certain that we
don't mess up the body of the ship itself and that all of our color sits on one
layer.
- Set the Foreground Color to the color you chose in direction 3
- Make sure the visibility of both layers is turned on
- Make sure the Color layer is the active layer
- Select the Paint Bucket Tool
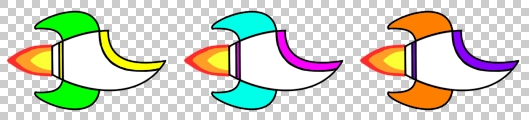
- Click each of the four areas to add color to them, you should end up with
a ship that is similar to the image below...
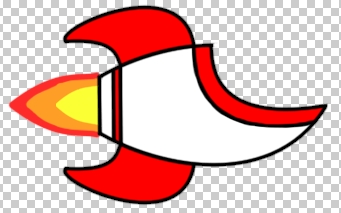
If you are happy with the color you added you may skip ahead to direction 10.
I'm going to give you an opportunity to customize your ship a little by
choosing a second color if you want. You are free to set the fins to one color and the other
two areas to a different color. This allows for the creation of some interesting color combinations...
Avoid the temptation to use more than two colors as adding in a bunch of
different colors tends to make these cartoon ships look ridiculous. Also, DO NOT change the
white areas of the ship. We will need the body to remain white so we can
easily read the ship name we will be adding in just a second.
- If you wish, choose a second color and click on each fin
Now let's get our beautifully colored ship onto one layer.
- Select both layers then right-click on one of them and click
Merge Layers
- notice that the new layer is named Ship (do you remember why?)
Now let's give our ship a name. The coolest ship names
begin with U.S.S. (which, by the way, stands for United States Ship), so this is
how we are going to start our ship name. We need to use the Type Tool to add in
our ship name.
- Click the Horizontal Type Tool...

Notice the cursor changes to an
I-bar (this indicates that you can type in text)...

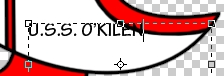
- Click inside your spaceship and drag to create a box...
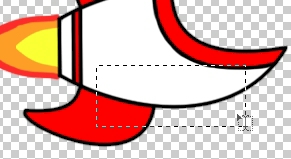
- When you release the mouse you should see a text box, as in the graphic
below...
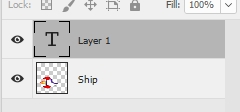
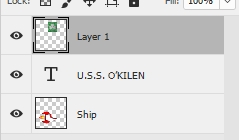
Notice that Photoshop creates a layer in the Layers panel called
Layer 1 (if the layer is named something else don't worry about it - it
will change in a minute) and that a T shows in the layer icon to let you know
that the layer contains text...
- Adjust the Options bar so that it matches the settings below...

You are free to use a different font if you like, but be sure that it is
large enough to be easily seen on your spaceship and is not some strange font
that is impossible to read
- Type
U.S.S.
followed by your last name in all caps...
Just put your last name - I do not want to see
U.S.S. RILEYISGREAT
or
U.S.S. TRAVIS GOT SWAG
or anything else like that - use only your last name or I will take
off points - LOTS OF POINTS
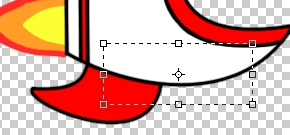
- Your name is likely not in the perfect spot (notice how mine goes over the
red portion of the ship in the image above), so let's move it by clicking
the Move Tool (remember where that is?)
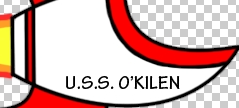
- Click on your name and drag it into place - it should be in about the same
position as the name in the image below (if you just have to move it a small amount you can use the arrow keys on the keyboard)...
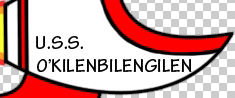
BTW, if you have a long last name, feel free to put the
U.S.S.
and your name
on two different lines...
Notice that the layer that contains your text is now named whatever you typed
on the layer...
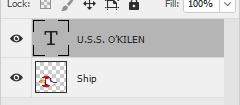
This is very helpful as it will allow us to quickly tell the
difference between different text layers.
Now comes the part where you get to be really creative. In the space above your name,
you need to add in a graphic of your choice to personalize your spaceship.
- Use the Internet to locate an image you want to include on your
ship (remember that it needs to be an image that does not have a great deal of
tiny details as these will be lost when you resize the image and place it on
your ship) - here is the image I will be using...

Remember that this is a school project and the image you
choose MUST be appropriate for use in school
- Once you locate your personal image on the Internet, save it to your Photoshop folder
- Open your personal image in Photoshop
- We need to see both your spaceship and your personal image at the same
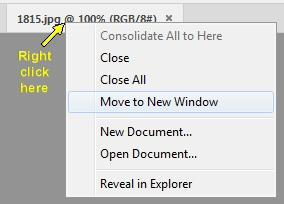
time, so we need to take your personal image off of Maximize, so locate the Document Title
of your personal image and right-click
on it and then click Move to New Window...
Photoshop should place your personal image in its own window and put it in
the upper left corner - if you need to reposition your personal image so you
can see both images at the same time, you can click
on the title bar and drag the image where you need it to be
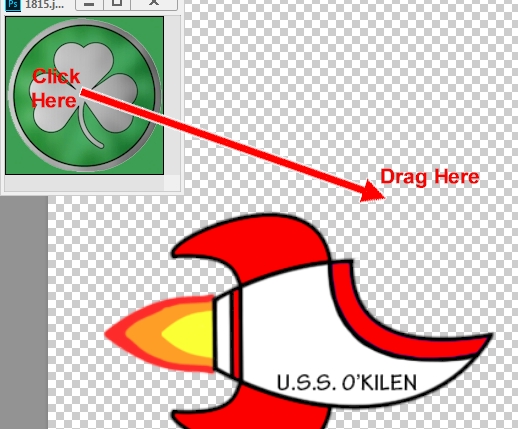
- Using the Move Tool, click on your personal image and
drag it onto your spaceship...
Notice that Photoshop creates a new layer and automatically places your image
on it...
(if this does not work for you, you may need to click your personal image and
press Ctrl+A [this is the keyboard shortcut to select everything]
to select it then press Ctrl+C to copy it and then click your
spaceship and press Ctrl+V to paste your image)
- Close the original personal image file...
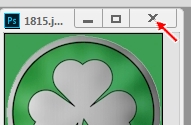
If Photoshop asks if you want to save it, click No
- Rename the new layer containing your personal image to Image...
- If there are any parts of your personal image that you do not want
included in your finished project, or if you want to alter the image in any way, use whatever method is appropriate (Magic Wand Tool,
Eraser Tool, Levels Editor, Brush Tool, Crop Tool, or whatever works) to remove or
change anything you don't want - in my image for example, I removed the green color around my image
(otherwise I would have had an odd looking
square instead of a really cool circle)...
By the way, removing the color was easy: I simply clicked on the color with
the Magic Wand Tool to select the color and then pressed the Delete key
- Resize your personal image so that it is the proper size for your
spaceship - remember that to resize things we can use Edit >
Transform > Scale, or simply press Ctrl+T on the keyboard
- Use the Move Tool to place your personal image in the correct
position on your spaceship...
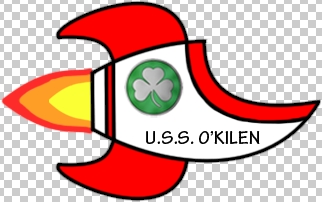
- Save your spaceship file in your Photoshop folder as
Spaceship.psd
Our ship is now ready to go, so let's work on getting our head in the image.
01 |
02 |
03 |
04 |
05 |
06 |
07 |
08 |
09 |
10 |
11 |
12 |
13 |
14 |
15 |
16 |
17 | 18 |
19 |
20