Step 1: Intro  |  Step 2: Selecting  |  Step 3: Guy in City  |  Step 4: Making Adjustments  |  Step 5: Shadow  |  Exercise
    

Creating a Giant in Photopea: Giving our Giant a Shadow

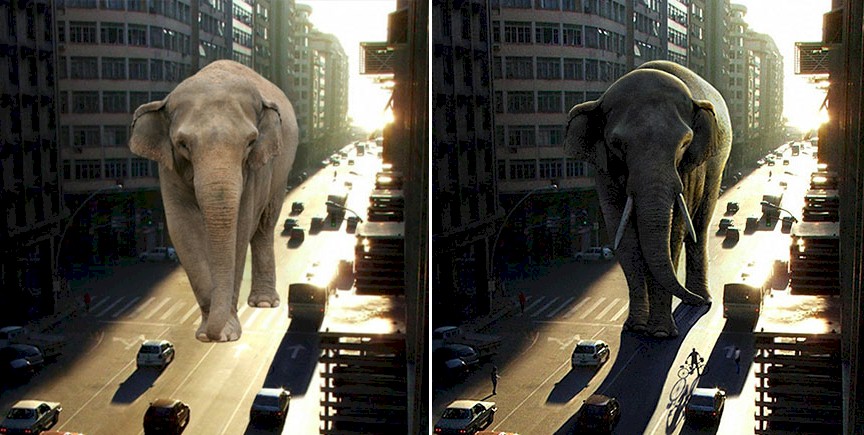
We are now left with one final problem - his shadow. Shadows go a LONG way to selling the reality of the scene and convincing viewers that the image is valid. By simply adding a shadow we take an image of an obviously fake giant and make it seem like it is completely real. Consider the two images below...

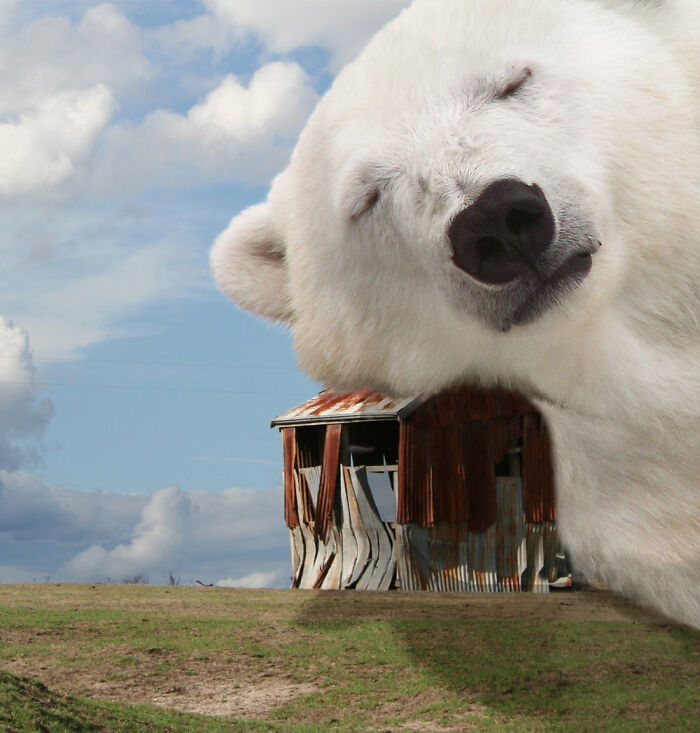
The elephant on the left is clearly fake, and will cause most people to smile at how obviously Photopeaed the image is. On the other hand, the elephant on the right blends into the street scene and offers no obvious areas where the viewer thinks 'now that is fake.' Of course, we know there are no elephants that large, but that's not the point. If we can look at the image and NOT see obvious fakery, then we can accept that it is real.

Consider these shadow-free images...


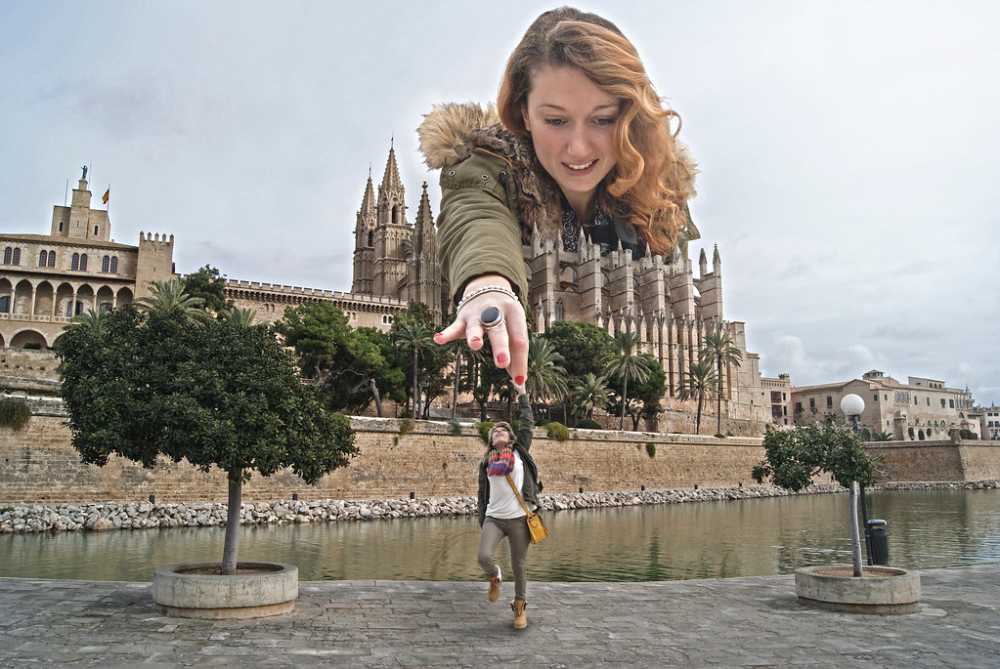
Note the shadows coming off the trees to the left - the giant should be casting similar shadows on the tress and the water


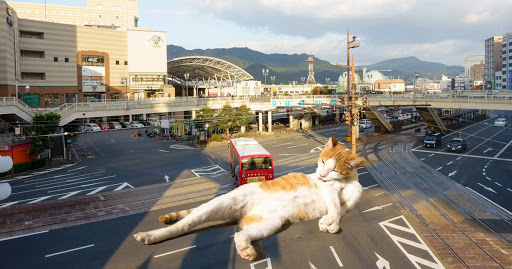
Not only should the cat be casting a shadow, but there should be a shadow on the cat from the bus


Notice the shadows falling to the left of the buildings, lampposts, and people

Now look at these images that include shadows...


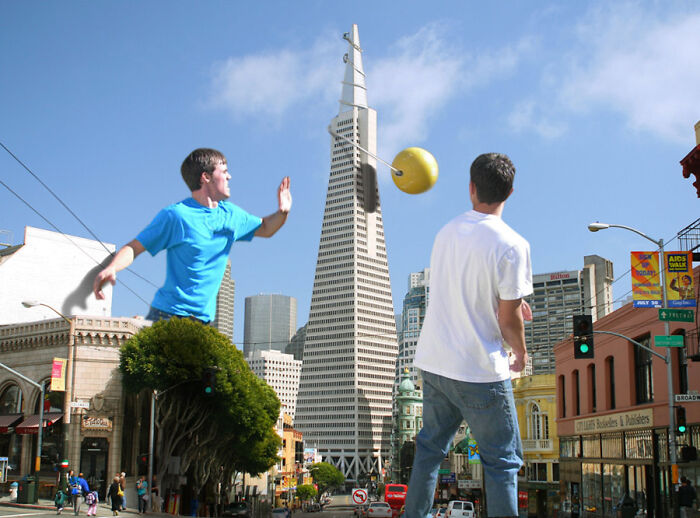
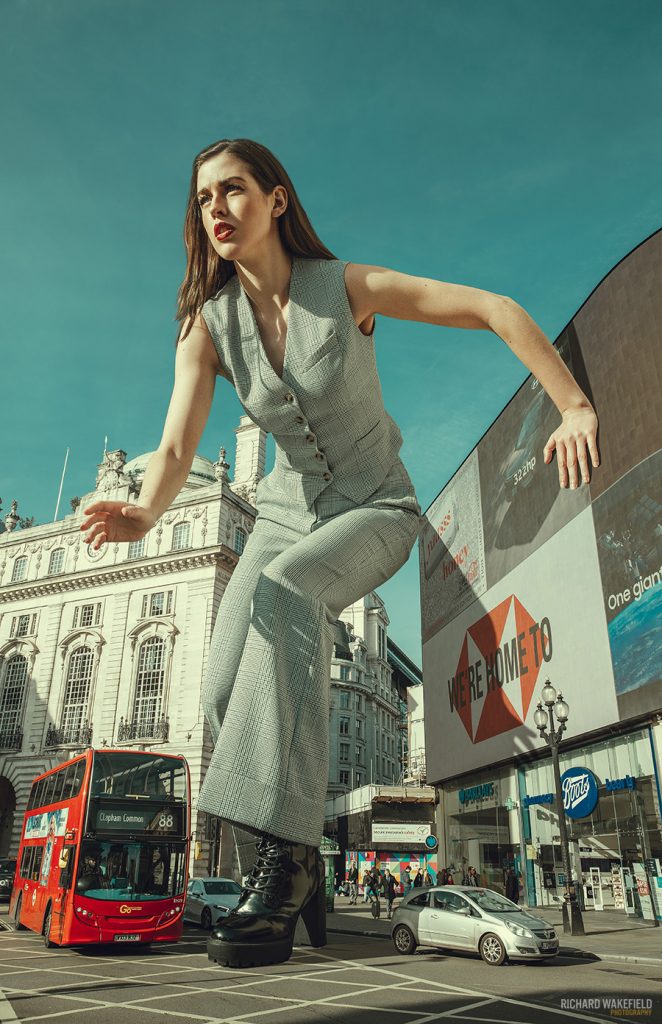
The lack of shadows on the giants in the first two images make the fact that they are fake stand out, and it becomes pretty much the first thing we see. In the bottom four images, the shadows help the viewer buy into the idea that the giants are real. Notice that small details - the shadow of the left tetherball player's arm on the white building, the shadow of the girl's fingers, the shadow and reflection of the golfer in the water - make a huge difference in selling the image as realistic.


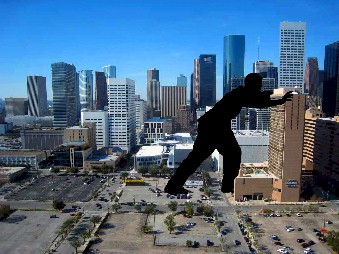
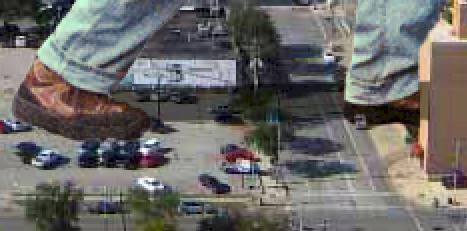
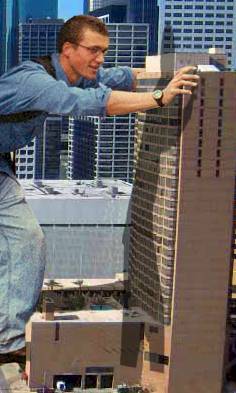
The first thing we need to do is determine what kind of shadow we need to create. Take a look at the trees in the image - especially the ones on the street directly under the guy...

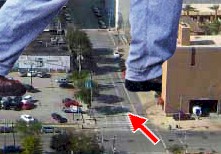
Notice that there is a strong light source off the left side of the image creating obvious shadows to the right. We could draw the shadow in by hand using the Brush Tool, but that would be difficult to line up and time consuming. We can create shadows more easily by simply using the guy's body.

  1. Duplicate Layer 1 (the layer with the guy) by right-clicking the layer and clicking Duplicate Layer...

    Notice that Photopea inserts the new layer above the original and names it Layer 1 copy...
  2. Double-click the layer name (in other words, double-click on the words Layer 1 copy) to enter layer rename mode and rename the layer to Shadow...

    If a large Layer Style window opens when you double-click, simply close the window and double-click again, but this time make sure you are double-clicking on the actual layer name
  3. Press Enter to apply the name change
  4. We want to fill the layer with black, but we just want the guy to turn black and not the entire layer, so click the Lock Transparent Pixels button on the Layers panel...

    This will prevent Photopea from coloring any transparent pixels
  5. Click Edit then click Fill...
  6. In the Fill window, change the Fill option to Black...
  7. Click OK - notice that the guy on the Shadow layer is now black...

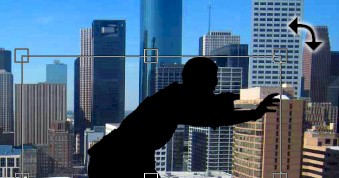
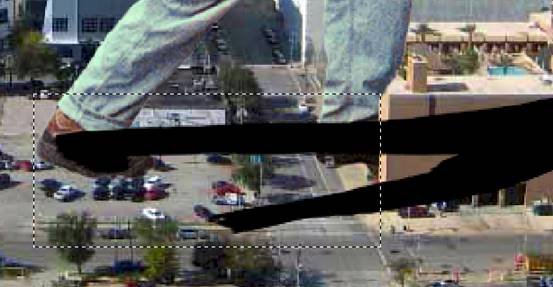
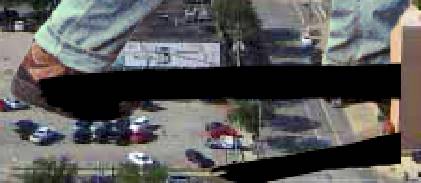
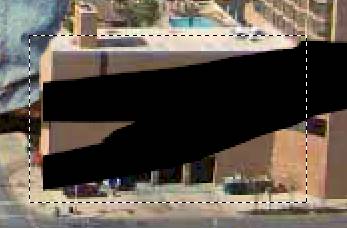
Let's modify the shape of our shadow so it looks like it is actually coming from our guy.

  1. Make sure the Shadow layer is selected
  2. Click Edit then point at Transform and click Distort...
  3. Point just off one of the corners until the cursor turns into a curved double-headed arrow...
  4. Click and drag to rotate the shadow...
  5. Using the center (in the middle of each side) and corner distort handles, distort the shadow until it look similar to the image below...

    Note that to reposition the shadow, simply click on it and drag it into place

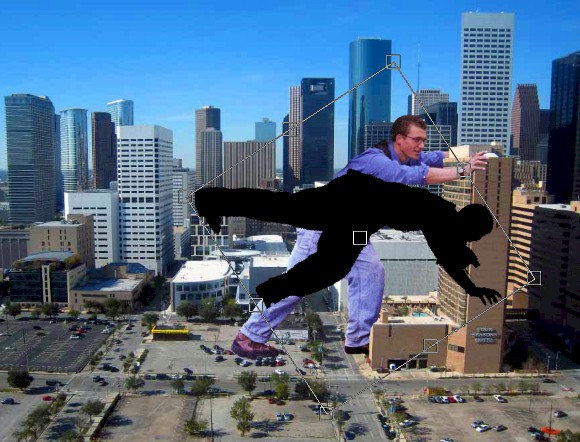
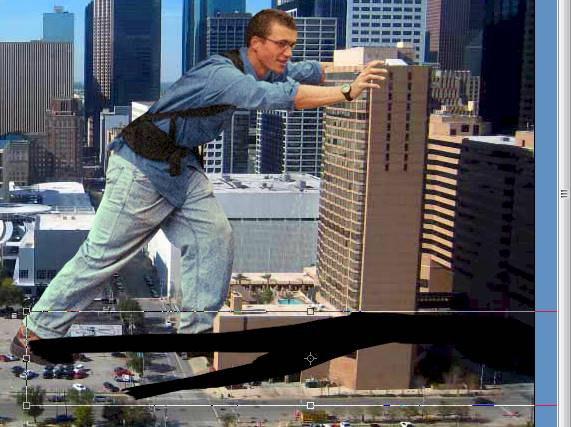
No, I'm not going to tell you exactly how to distort the shadow into the position shown above. You are on your own here. It may take several times of resizing and rotating, resizing and rotating, resizing and.....well, you get it - until you get the shadow in the correct place. Note that the position of the shadow does not have to exactly match where my shadow is, but try to get it close. Remember, we are working to make it look like there is a shadow on the ground caused by our guy, so things need to line up for it to look believable.

  1. Once the shadow is in the correct place, press Enter to apply the Distort
  2. Click the Rectangle Select tool...
  3. Click and drag to select the area shown below...

    This will allow us to put this part of the shadow on its own layer and use the rest of the shadow on different parts of the building
  4. Press Ctrl+X to cut the selection
  5. Press Ctrl+V to paste the selection on a new layer - notice that Photopea names it Layer 2...

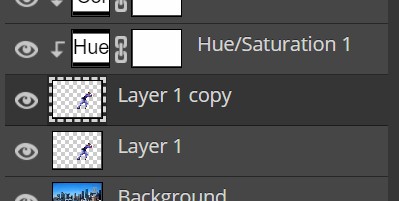
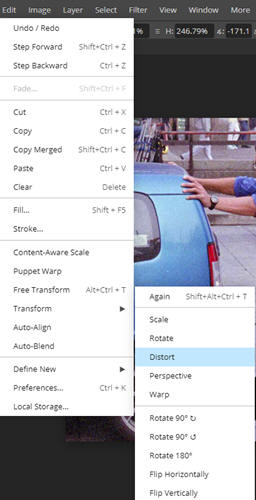
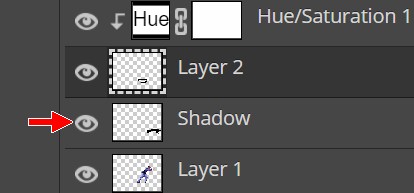
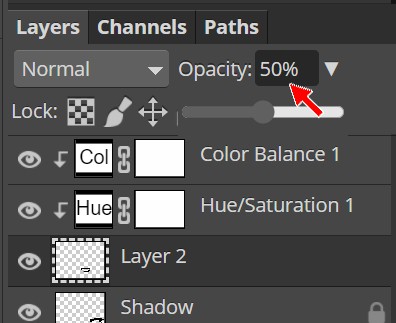
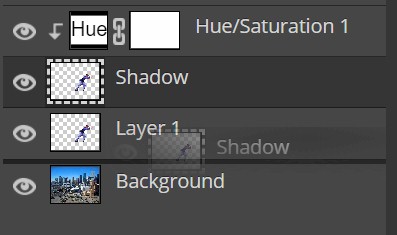
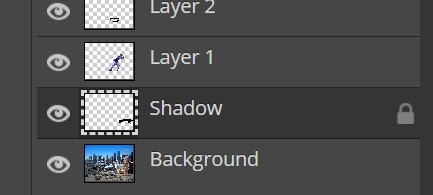
We now need to work with Layer 2 and get our shadow into place. It will be easier to work with if the Shadow layer is not visible and thus not in our way. Luckily for us, Photopea gives us a quick and easy way to make a layer invisible.

  1. Hide Layer 2 by clicking the layer visibility icon (the little eye)...

    Note that turning off the visibility icon does not remove the layer, it just turns it invisible (we can view the layer again by clicking back on the layer visibility icon)
  2. Make sure Layer 2 is the active layer and click the Move tool...
  3. Click the shadow and drag it into the correct spot...
  4. On the Layers panel, click the Opacity selector and drag the slider to the left to set the Opacity to 50%...

    This will make the solid black shape look more shadow-like
  5. Use the Eraser Tool to remove the parts of the shadow missing in the image below...

    Basically, you just want the shadow to run from his back leg to his front leg
  6. Turn the visibility of the Shadow layer on
  7. Use the Rectangular Marquee Tool to select the region below...
  8. This time let's use Ctrl+C to copy the selection
  9. Press Ctrl+V to paste it on a new layer named Layer 3
  10. Turn off the visibility of the Shadow layer
  11. Use the Move Tool to place the Layer 3 shadow in the correct place on the building...
  12. Reduce the Opacity to 50% then erase the unnecessary parts...
  13. Turn the visibility of the Shadow layer back on
  14. Click on the Shadow layer and drag down in the Layer stack until you see a solid black line below Layer 1...

    and then release the mouse button - this will move the Shadow layer below Layer 1...
  15. Reduce the Opacity of the Shadow layer to 50%
  16. Click Edit then Free Transform and use the transform handles to adjust the position of the shadow so that it matches the image below...

    Again, I'm not going to tell you how to do this - you got this
  17. Use the Eraser Tool to remove the unnecessary portions of the shadow...

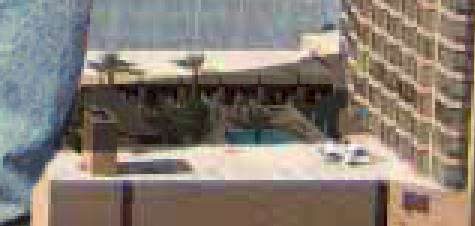
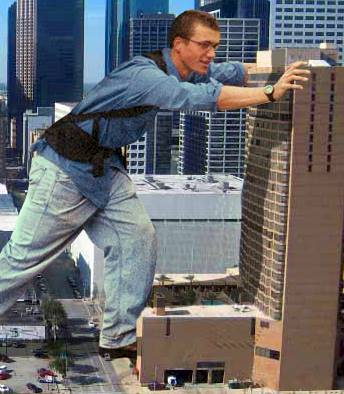
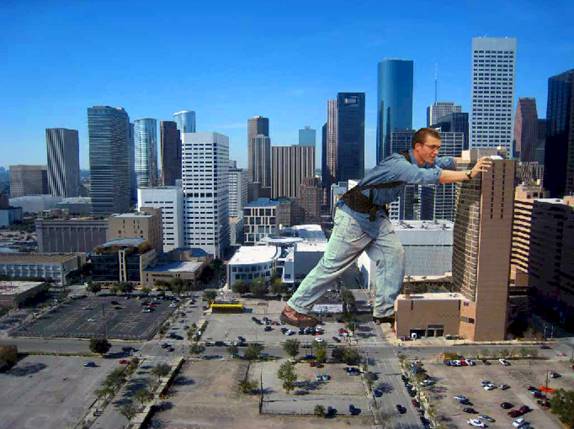
Our scene is now complete:

Let's save our final image:

  1. Click File and then click Save as PSD...

  2. Save the image as GIANT.psd in your GIANT folder

Now that you know how to use the tool and techniques to create this type of image, your job is to create a custom image of your own. The Exercise page contains all of the directions you need to build a custom giant with YOU as the main character.

  1. Click the Exercise link and follow the directions


Step 1: Intro  |  Step 2: Selecting  |  Step 3: Guy in City  |  Step 4: Making Adjustments  |  Step 5: Shadow  |  Exercise