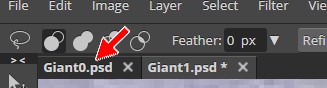
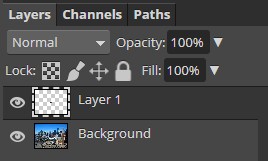
Notice that when you paste him into your city that Photopea places him on a new layer...
This is good, this is what we want
|
Step 1: Intro
| Step 2:
Selecting | Step
3: Guy in City |
Step 4: Making
Adjustments | Step
5: Shadow |
Exercise |
| Creating a Giant in Photopea: Putting our Giant in the City |
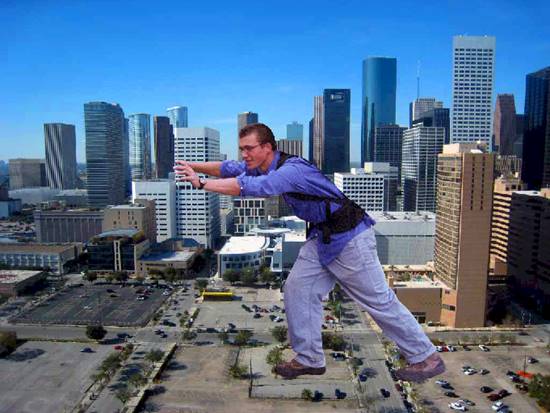
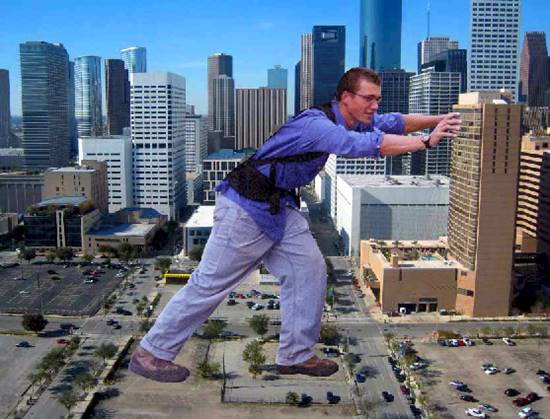
We now need to get our guy onto our city. There are several different ways we can pull this off, but one of the easiest is simply using copy/paste (if you want to use a different method go for it!).
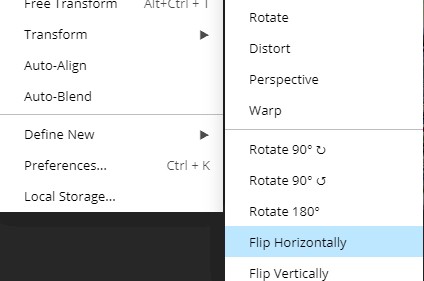
We want him to be pushing on the tan colored building on the right, so let's flip him around.
We now need to move him into place. Our goal here is that it looks like he is pushing the tan colored building on the right. We can't just place him so that his hands are touching the building because his feet will not line up with the building...
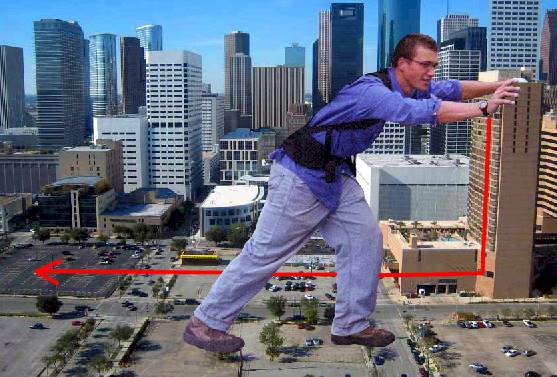
We need to adjust him so that his feet are on the red line and his hands rest on the top of the building


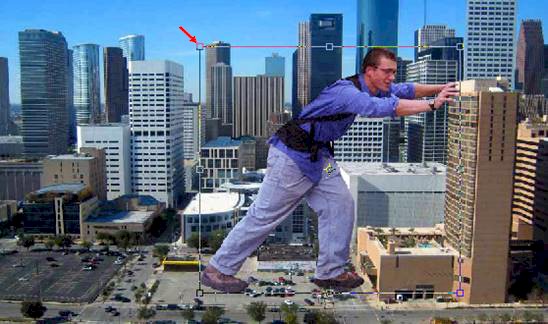
He should now be in place, but you may notice that we have a few problems. His forward foot is in front of the building when it should be in the middle of it, and his left arm appears to go nowhere. In the next step we will make some adjustments to his body so that the scene looks more realistic.
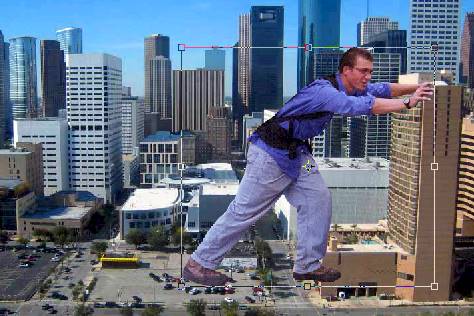
At this point, we have made some pretty big changes, so let's save our image as a psd file in case we need to close it and come back to it later.
|
Step 1: Intro
| Step 2:
Selecting | Step
3: Guy in City |
Step 4: Making
Adjustments | Step
5: Shadow |
Exercise |