| Creating a
Giant Exercise: Custom Giant |
To
wrap up this lesson, you will each create a unique image where YOU are the
giant. You can create any kind of image you like, just as
long as your finished product looks realistic.
Follow the directions below
to create your image:
-
Begin by searching the internet and finding an image that you want to use as your
background image
Some things to keep in mind when selecting a background image:
-
The image you choose needs to be of a large enough area so that when you place yourself in
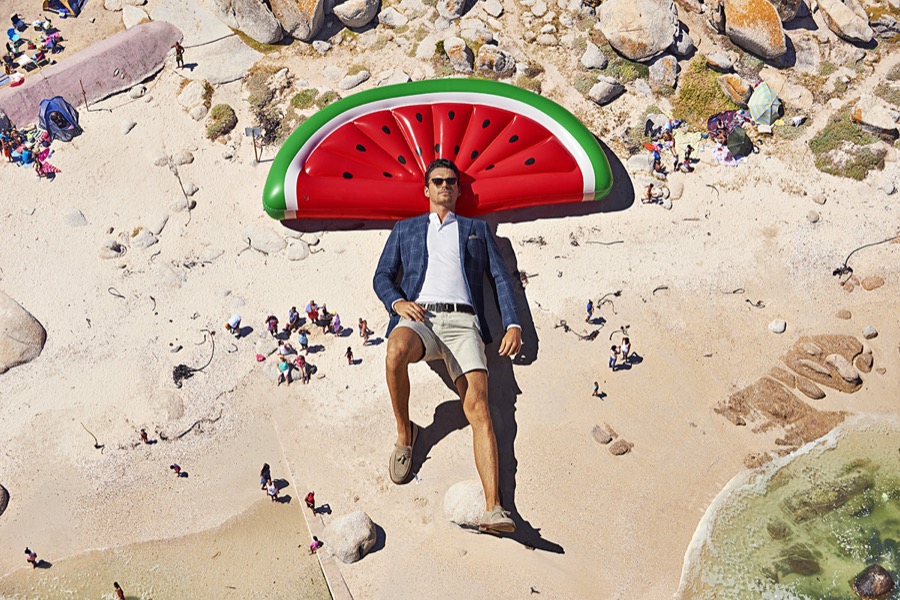
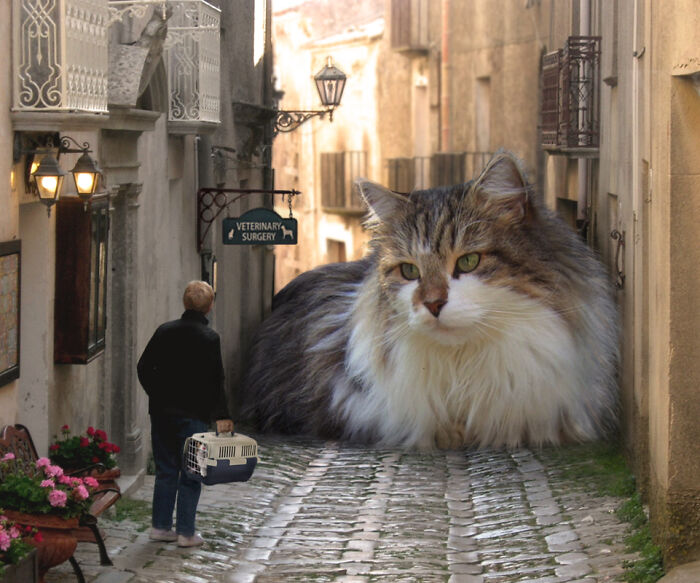
the image you will look like a giant. It doesn't have to be a cityscape (though
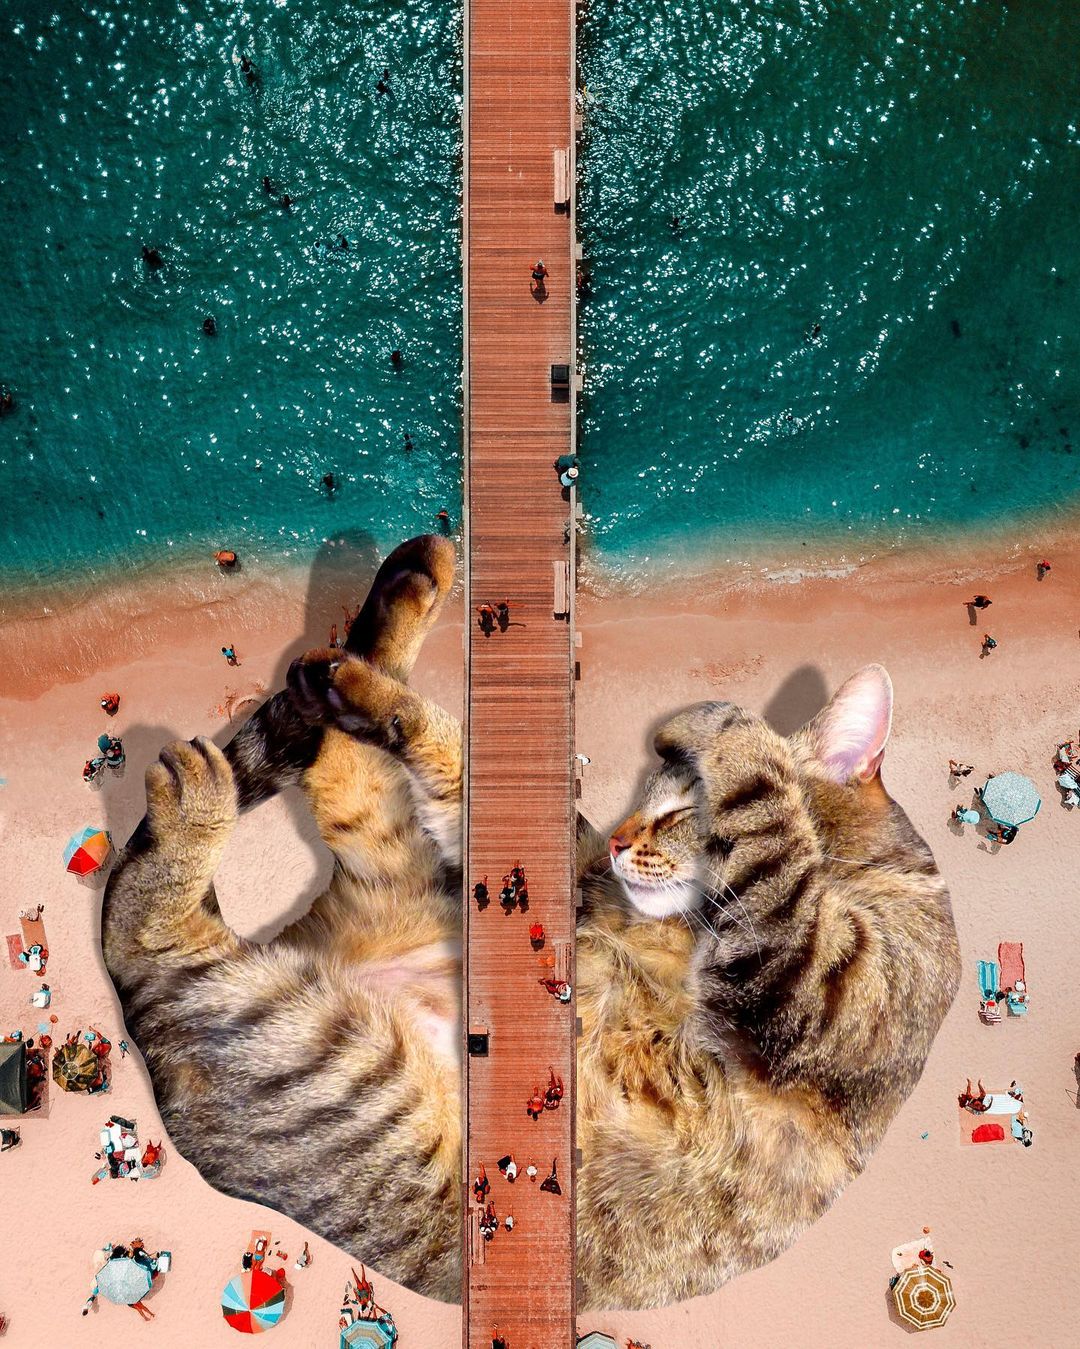
that is one of the easiest ways to do this). Remember the guy sleeping on the
beach and the cat from Step 1?...
There have been 28 images up to this point that you can use as example images (and there are more below)
to give you an idea of what I'm talking about (remember that you can click on
any of the example images to have the full-sized version load in a new browser
tab). -
YOU MUST INTERACT with the background in some way. This means that you cannot
just take a picture of yourself standing in one spot and then place yourself in the
background and call it a day. Even if it is as simple as you touching something
in the background - remember these images...

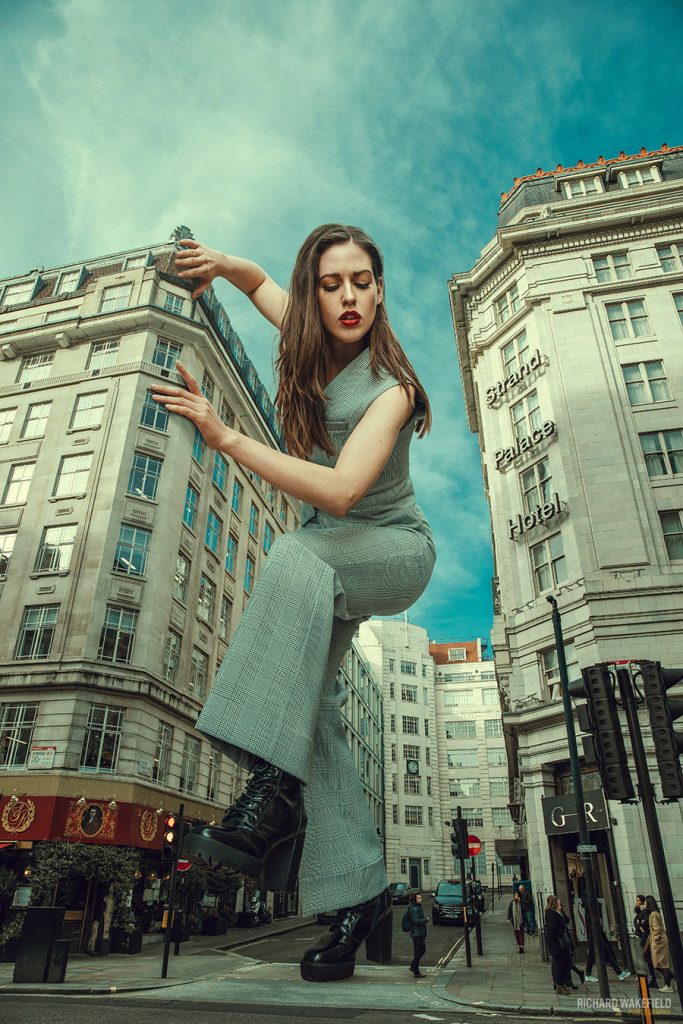
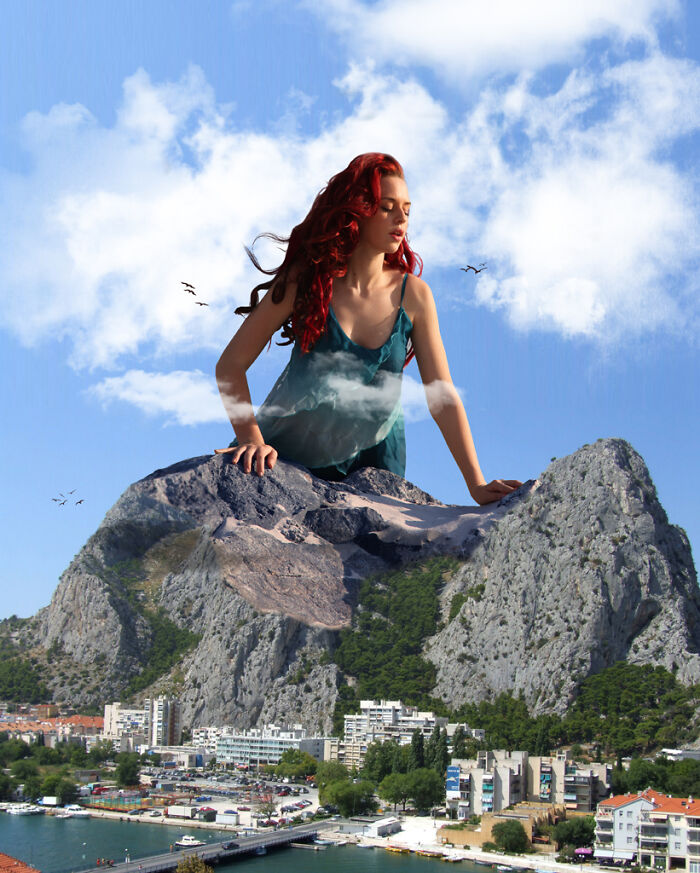
Notice that the boy is grabbing the fallen obelisk (which has not actually
fallen over in real life, by the way) and the woman is touching the building.
These are simple interactions - and there are more examples further down this
page when we discuss the kind of selfie you need to take if you need some more
ideas. Just make sure that you choose a background that you can pose in (like
the woman above) so you are interacting in some way with the background.
Try to find an image that is similar in tone and color to the selfie you will
take to place yourself in the image. This will mean less work later when you
have to match brightness and color like you did in Step 4.
Think about how you will need to add shadows into the image to make it look
realistic. Some backgrounds will make this more difficult than others.
Some images are easier to work with than others, so choose wisely! Don't be
afraid to change the background image if you find the first one you pick to be
difficult to use. There are plenty of great images out there to use.
I want to give a quick word of warning here. When selecting your image, think
carefully before going with a picture where you place yourself in
water. Consider the following image...
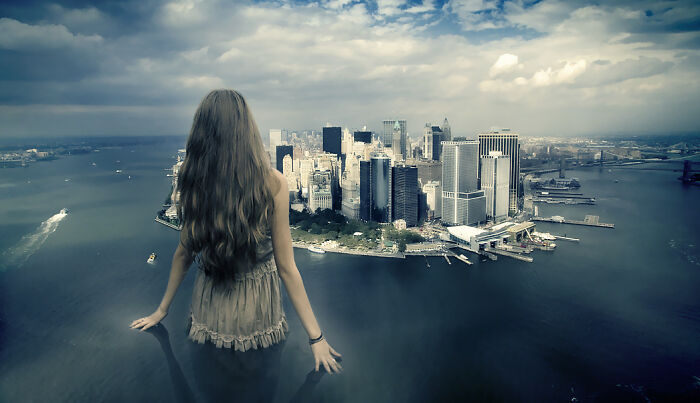
Notice that while the color and lighting of the girl matches the
background (she even has a shadow), that the lack of ripples in the water where
she is standing make it obvious that she was
added in. Now look at these images...
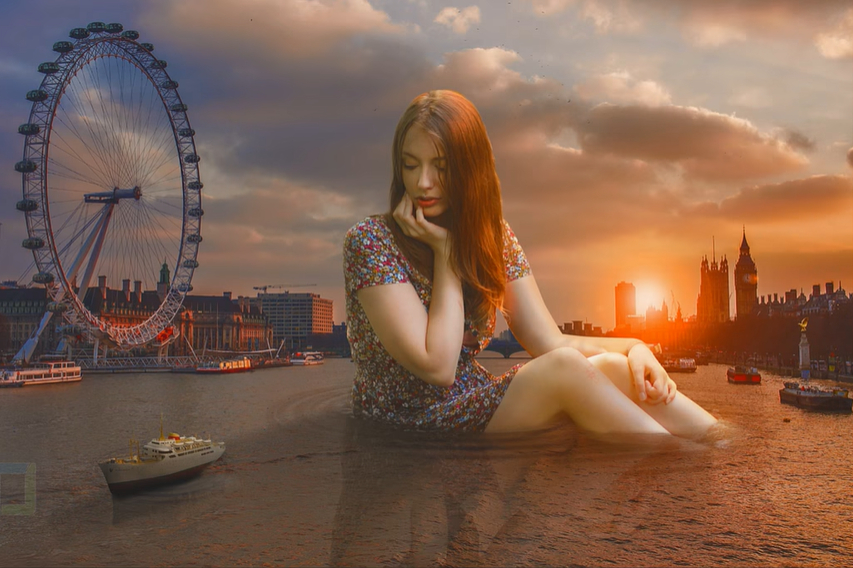
Also, remember the girl next to the bridge from Step 1...
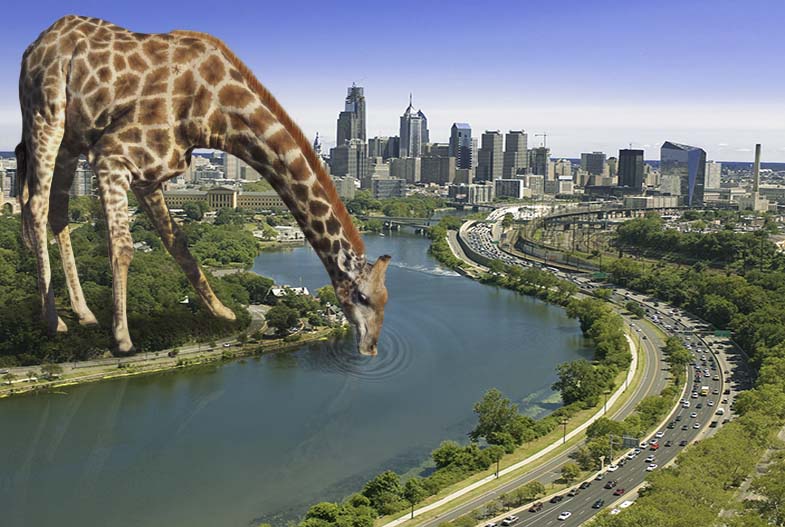
Notice how adding ripples in the water around the woman and the giraffe's mouth
make it much more believable that they are actually in contact with the water.
Also notice that both the woman and the giraffe are reflected in the water.
Realistic reflections in water can be difficult to pull off, and are beyond the
scope of this tutorial, so don't worry about adding in a reflection. If you want to place yourself in water then go for it, just make sure to add
some ripples in the water (this is easily done with the Brush Tool with a gray
color and drawing in the lines - they don't have to be perfect, just visible).
If you want to make your image as realistic as possible and add in a water
reflection, then you can do so for extra credit. There are tons of great video
tutorials online - most of which are less than 10 minutes long - that will show
you how to create a water reflection in both Photopea and Photoshop. If you
decide to do this, make sure that you have time to complete it before the due
date. Remember that to get EXTRA credit you must first have CREDIT,
so make sure that adding in the reflection is the last thing you do. You need to
be sure that you have completed all of the required work before you start adding
in extra items.
-
When you find a photo you want to use as your background image,
save it to your GIANT folder
Once your image is saved, you need to take a picture of yourself to
include in the image as a giant. Here are a few important things to keep in
mind as you plan your selfie:
-
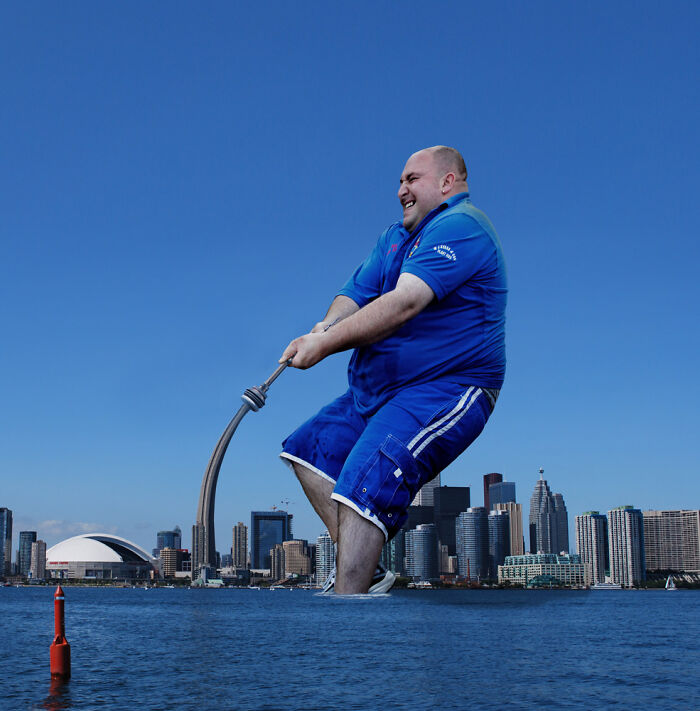
Determine how you want to fit into the image. There needs to be a
reason for you to be there. Remember these guys?...
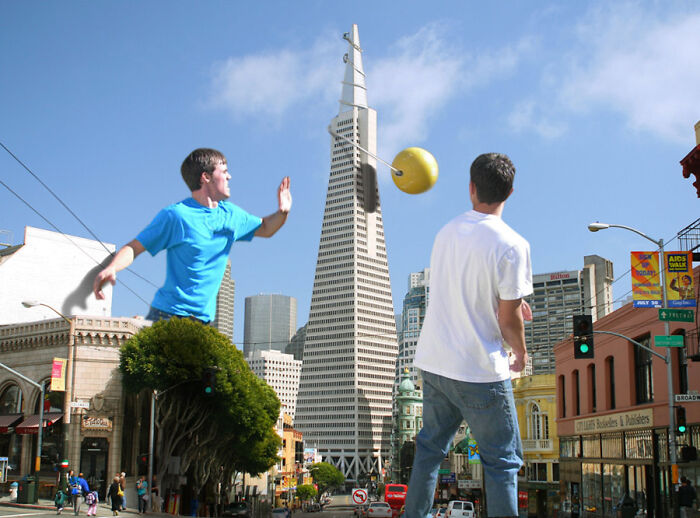
To get them into the scene, the designer had to also include the ball and rope.
-
You must interact with the surrounding in some way. Remember these
images...
In each image, the giant is coming into contact with something in the
environment.
-
Keep in mind that it needs to LOOK like you belong there. We have
talked a lot about making the giant look realistic!
-
Consider the environment and take a picture where you look like you are
a part of it.
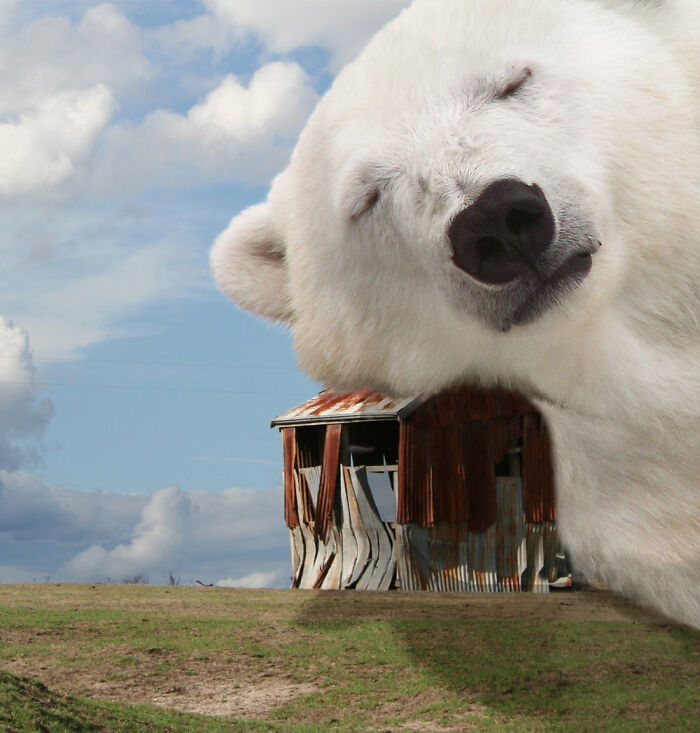
Your giant
needs to look natural in your background. Consider the following images...
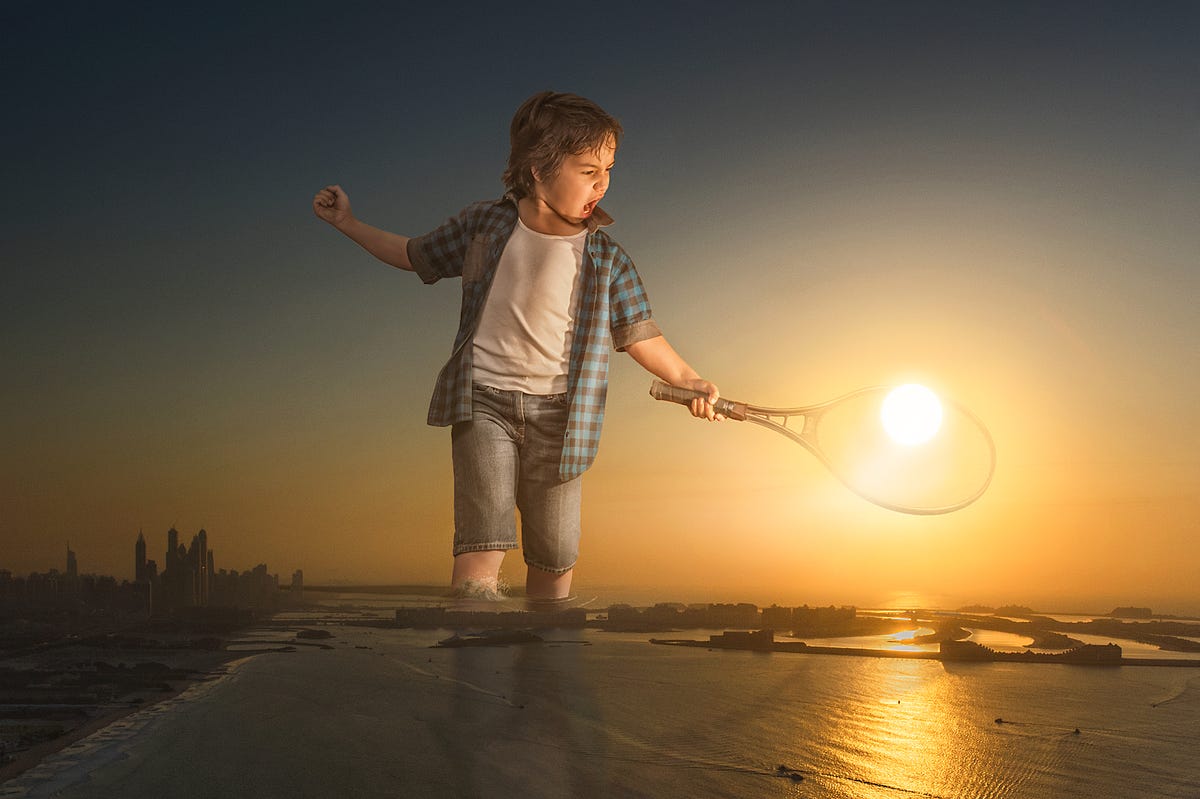
Note how the boy's pose makes the image work (and check out the splashes around his
legs)

The original photo is of a wreck in New York taken out of a the window of a
building, so adding in the cat playing with a car fits nicely
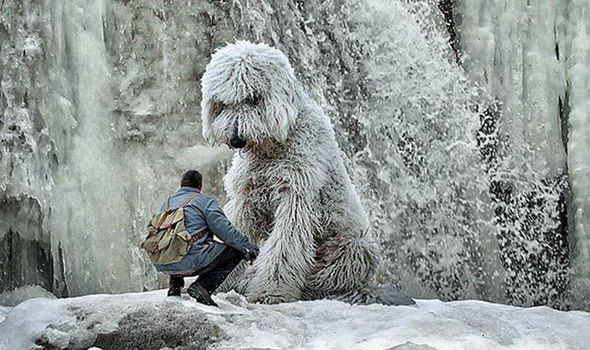
The texture of the dog's coat appears similar to the background making him blend
in
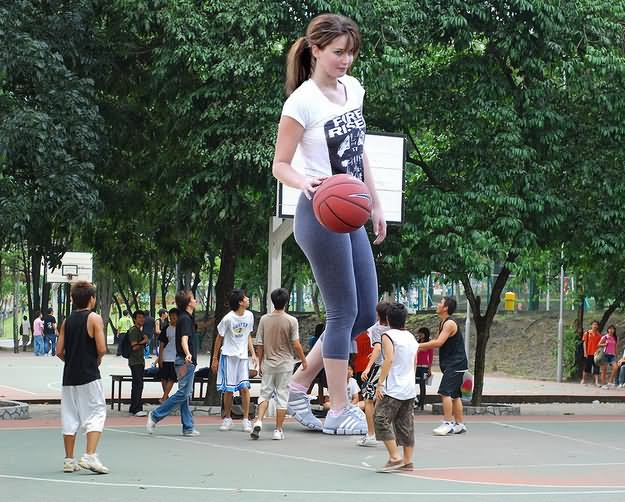
She is bouncing a basketball.....on a basketball court.....so.....yeah.....but
also notice that they guys on the court are looking up at her (they are actually
looking at the ball bouncing around on the rim, but she is covering that up)
Notice how the giant in each of the above images fits with what is going on
around them. This is what you want to shoot for.
- Take a picture of yourself to include in the background as a giant -
make sure you pose yourself so that you fit into the scene
- Save the picture of you into your GIANT folder
- Open both the picture of you and the background image you chose in
Photopea
- Make a selection of yourself (like you did in Step 2)
Be careful when making your selection, because hair can be an issue. Look at
following images...
Notice that in both images the hair (and fur) has a very sharp edge and does not
look realistic. Remember that we didn't really have this issue when we selected
the guy pushing the car in Step 1 because his hair was cut very close to his
head (yeah, I did that on purpose). If you have lots of hair that is difficult
to select, consider retaking your picture with your hair slicked down, pulled
back, or wearing a hat. Keep in mind
that it is far easier to just take a new picture then to take a long time to try
and make complicated hair look realistic.
-
When you have a selection of you that you are happy with, copy yourself into
the background image (like you did in Step 3)
-
Make any adjustments you need to make to position yourself where you like so
that you are interacting with the background (like when you flipped and
resized the guy and placed him against the building in Step 3)
-
Make any adjustments you need to make to match the brightness, color
balance, hue/saturation, and anything else that makes you look like you
belong in the background (like you did in Step 4)
-
Determine what direction the light is coming from in the background image
and create a shadow for yourself that is the correct size and color so it
looks like you belong in the background (like you did in Step 5)
Keep in mind that your goal for this exercise is
to
create an image with you as the giant THAT LOOKS REALISTIC.
Try your best to make the final result look as realistic as possible - this is what you will be graded
on. If it is easy to tell that you don't belong in the image, you will
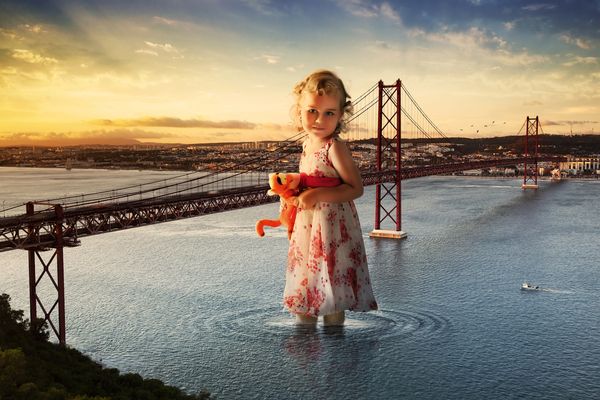
lose points. For
example, look at this image...
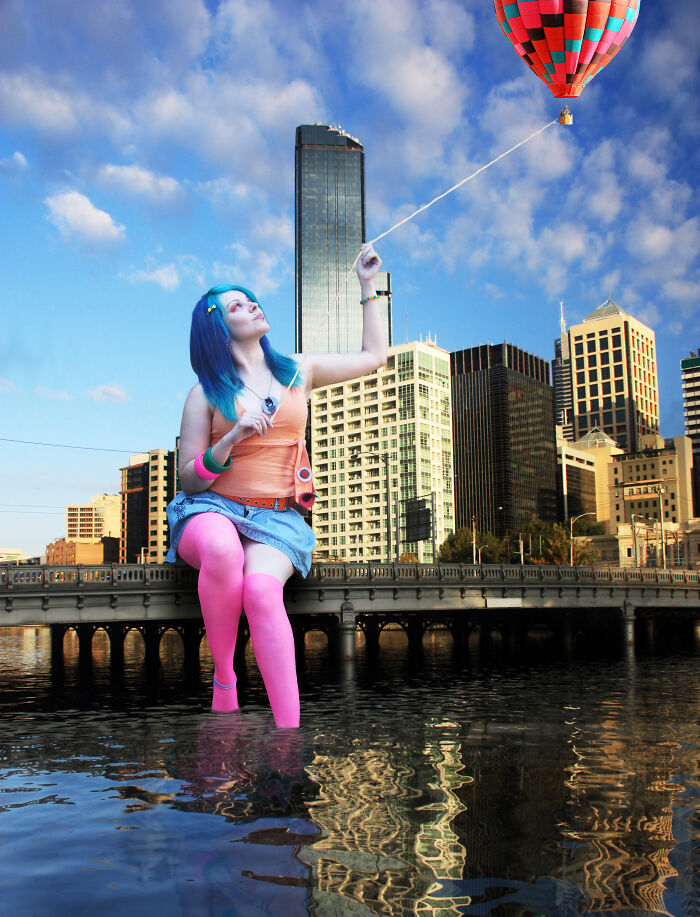
Note that while she has a shadow (on the bridge directly under her) and
a reflection in the water, there are no ripples around her legs and her
brightness, tone, and color
do not match the background. The balloon is very red, when it should have a
slight blue tint to it from the sky. It is just really obvious that she does not
belong in the scene.
Take your time and
make it look like you are an actual giant in the actual background.
-
Once your custom giant is complete, save your scene as
CUSTOM_GIANT.PSD in your
GIANT folder
-
Submit your image to be graded
If you have some time left over, feel free to create a giant image using
your favorite celebrity or musician for fun. Maybe I'll even use your image
as an example image in this tutorial!