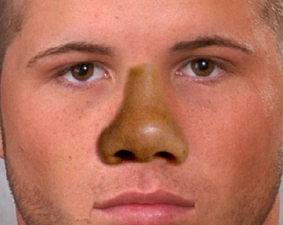
Step 6: The NOSE

Step 1: A New Me | Step 2: Eyes | Step 3: Hair | Step 4: Ears | Step 5: Mouth | Step 6: Nose

Once again we will use the same technique to give ourselves a new nose.

  1. Open your picture in Photopea
  2. Locate a person whose nose you wish to use
  3. Use the Lasso Tool to draw a selection area around the nose - the edge should be fairly hard so that the side and bottom of the nose have a hard edge so they appear to actually sit above the face (don't worry about the top of the nose - we will fix that later)
  4. Copy and Paste the nose selection onto your face
  5. Rename the new layer containing the nose to Nose
  6. Resize the nose so that it matches the scale of your head
  7. Position the new nose on top of your old one
  8. Use the Eraser Tool with a soft, round edge to trim any background or remaining face parts from your new nose so that you have a nice, soft edge that blends into your face - you should now have something similar to the image below...
  9. Use Photopea's Adjustment Tools to make the new nose's skin tone match yours - you should now have something similar to the image below...

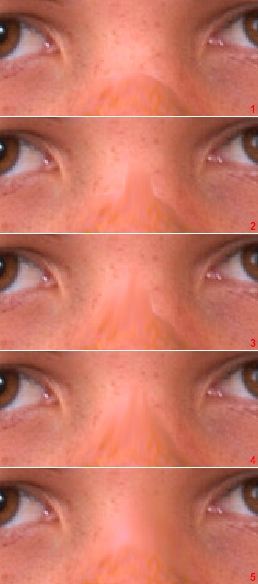
Once the color is corrected, you may notice that your new nose still has an obvious edge, particularly at the top of the nose...

The break between our new nose and our face is very obvious causing our nose to not blend well with our face.  Obviously, we need to correct the problem at the top. While the eraser trick works well, a better technique here is to use the Smudge Tool to get what we want.

  1. Select the Smudge Tool and zoom in on the top of the nose
  2. Reduce the smudge Strength on the Smudge Tool's options bar to 50 so that you are only making slight changes when you work
  3. Use a large enough brush to do the job well - a size of between 15 and 20 seems to work well for this
  4. Use short, quick strokes to drag portions of the new nose up into the face to blend them together, as in the progression below...

    #1 is the nose before we smudge, #2 is after our first stroke, #3 is after 2 strokes, #4 is after 3 strokes, and #5 is after we have completed multiple strokes and have finished the blending and are happy with the results

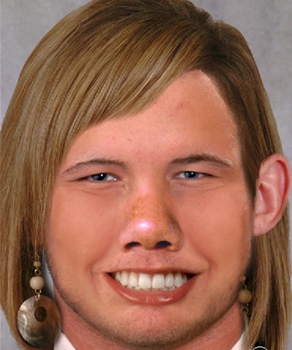
You should now have built an entirely new you similar to the image below...

  1. Save As PSD in your A New Me folder as ANewMe_Mame.psd


If you find yourself with some additional time, here are some additional things you can do for some extra credit:

If you do any of the above, save them to your A New Me folder as New_Extra1, New_Extra2, etc.


Congratulations
, you did it!!


Return to Step 5: The MOUTH


Step 1: A New Me | Step 2: Eyes | Step 3: Hair | Step 4: Ears | Step 5: Mouth | Step 6: Nose