
| Step 3: The HAIR |
Step 1: A New Me | Step 2: Eyes | Step 3: Hair | Step 4: Ears | Step 5: Mouth | Step 6: Nose |
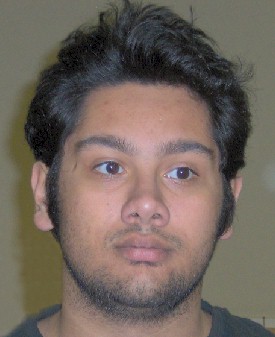
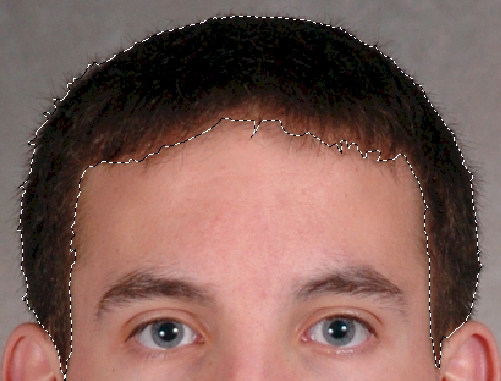
We will use the same process of selecting and dragging that we used on the eyes to get other pieces of our new face into place. For the hair, we will use an extremely useful tool that will make selecting the hair much easier: the Magnetic Lasso Tool. This tool allows us to make a selection by dragging around the outside of an area where a contrast in colors exists. For example, let's say I want to select the hair of the following person...
We could do it with the regular Lasso Tool and then use the Eraser Tool to remove all of the unwanted area, but an easier way is to select the Magnetic Lasso Tool and select just the hair. Notice how the hair is significantly darker then the surrounding area. This contrast creates an excellent line that the Magnetic Lasso Tool can use to create a selection area.
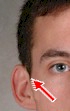
Take a look at Niel's hair in the image below...
Notice that his hair sits a significant distance off the top of his head. It will be difficult to replace his hair with someone else's hair simply because we are forced to choose someone with equally high hair. There are several ways we can address this issue, so let's take a look at two of them. Remember, the following two directions only apply if you have lots of hair.

Which of the two above methods you choose to deal with your hair is up to you, but remember that part of your grade depends on your new hair looking natural. Take the time to make it look good.
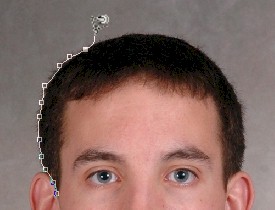
Open the picture of the person whose hair you wish to use
Note that you do not have to use all of the hair from the new person. If there are specific parts you like (or don't like), you are free to use those areas. Keep in mind that for the Magnetic Lasso Tool to work that there must be a definite contrast between the area you want to select and the area surrounding it (one area needs to be dark while the other is light).


Not bad, but there are few problems. The selections we get with this tool are generally rounded and not exceptionally precise. Notice near the ears that the pointed areas of hair did not get selected, and that there are perhaps segments across the forehead that we might want to add or remove...
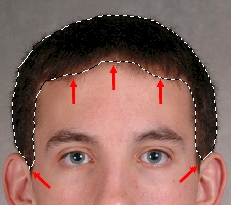
We can add to or remove from our current selection by holding down specific keys on the keyboard while we use the Lasso Tool.
I should probably mention that there are ways to get an almost perfect selection, but those methods are considerably more complicated than what we want to do, so let's go with what we have created so far. If you are interested in creating a more precise selection of hair, look online for directions on making hair selections using Channels.
We now have to get the new hair onto our image.
Since all of our pictures were taken with different backgrounds, it is likely that you will may have extra 'stuff' around your head to have to clean up. If you do have areas that you need to get rid of, use the Eraser Tool to fix it.
Keep something important in mind: by setting the Magnetic Lasso Tool's feather to 2 we made sure that the edge of our hair is nice and soft...
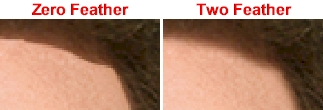
If you happen to have any areas that resemble the left image above, simply use the Eraser Tool to soften the edge so that it resembles the right image above.
Save As PSD in your A New Me folder as ANewMe_name.psd
That should do it for creating our new hair. Since we don't have to worry about matching skin tones we don't need to worry about using the Adjustments tools this time around.
|
Step 1: A New Me | Step 2: Eyes | Step 3: Hair | Step 4: Ears | Step 5: Mouth | Step 6: Nose |
|