
|
Step 1: Intro | Step 2: Brush/Pencil | Step 3: Spot Healing Brush | Step 4: Healing Brush | Step 5:
Patch | Step 6: Content-Aware Move | Step 7: Content Aware Fill | Step 8: Clone
| Step 9: Combining Tools
| Exercise |
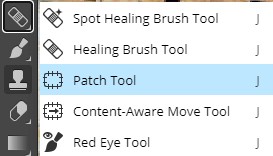
| Patch Tool |
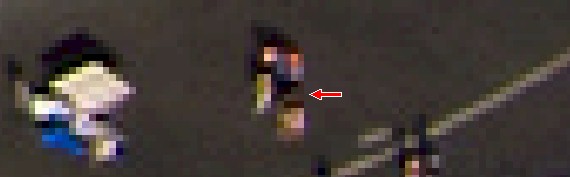
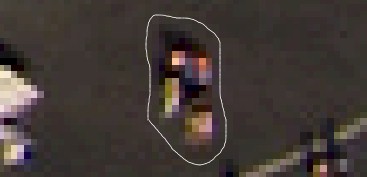
The Patch Tool allows us to actually draw a selection area around what we want to get rid of and then click and drag that area to a region we want to use to replace the original area. This may sound a little confusing, so let's give it a try and see how it works.
With the first option selected, which is called Replace (in the image above it is the second icon from the left), Photopea knows to replace whatever we select with the new area we move it to. I know, this is still a little confusing, and when you actually use the tool in the next directions you will understand what I'm talking about. I just wanted to point out here that there are three other options for how Photopea handles the objects in the selection area. We don't have the time now to get into exactly what each one does, just let me mention real quick that instead of removing objects like we are doing, that you can actually combine separate areas and make all kinds of cool stuff by using the other options. Feel free to take a minute and use the other setting just to see what they do. Be sure you undo any changes before moving on.
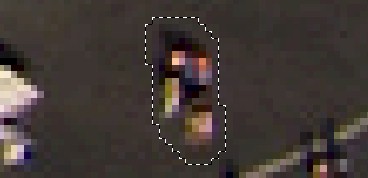
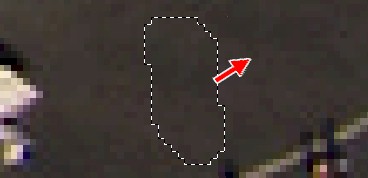
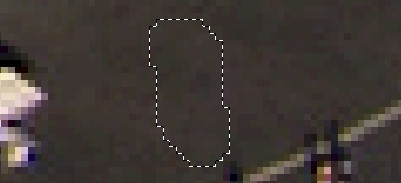
The function of the Patch Tool is actually pretty hard to explain in a written tutorial, but once you use the tool it is obvious how it functions. Once again, keep in mind that Photopea is not simply replacing the area in the selection with whatever you point at with the mouse. Instead, it is blending the two areas together, so be careful what area you use as your new content because if the area you are replacing and the new area are vastly different in color, tone, tint, etc, you will get all kinds of strange results.
In the next Step will use a similar process to the Path Tool, but in reverse. Head to Step 6 to see what I mean.