
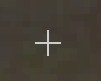
Notice as you drag the cursor around that you can see the target area where you clicked inside the cursor...
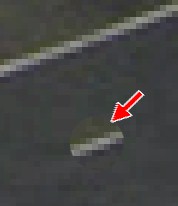
This will let you know what you will be transferring to the new area


|
Step 1: Intro | Step 2: Brush/Pencil | Step 3: Spot Healing Brush | Step 4: Healing Brush | Step 5:
Patch | Step 6: Content-Aware Move | Step 7: Content Aware Fill | Step 8: Clone
| Step 9: Combining Tools
| Exercise |
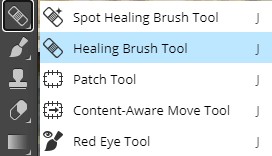
| Healing Brush Tool |
The Healing Brush Tool works similar to the Spot Healing Brush Tool. When we used the Spot Healing Brush Tool, Photopea was using whatever was around the object we were trying to remove as source material to replace the item. With the Healing Brush Tool, we first identify a location in the image that Photopea will use as the source to make changes. When we draw, Photopea recreates the texture from the sampled area and blends it with the color in the target area to attempt to create a seamless image. I know, it's a little hard to understand. Let's get some practice and how it works will be clear.
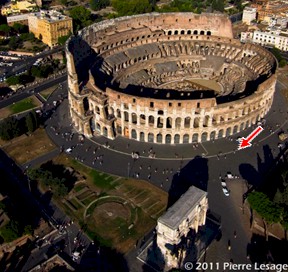
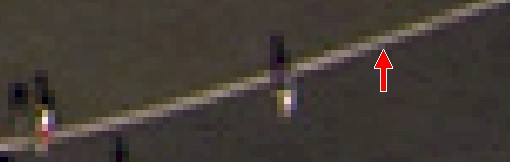
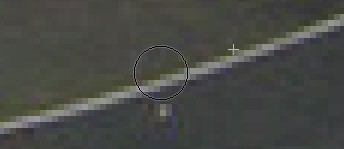
Make sure you understand what happened in this Step. We didn't just take whatever was under the plus sign in the image for direction 7 and copy it onto the person (that is what the Clone Tool does, which we will cover in Step 8). Instead, Photopea took pixels from the area we defined (the area under the plus sign) and combined them with the pixels at the location of the person we were removing. In this way, we get a nice, seamless removal where the colors and texture are maintained and everything is smoothed out and looks realistic. Again, this tool cannot be used everywhere in the image, but it is very effective at removing people who are close to things like buildings and lines.
As with the Spot Healing Brush Tool, if you try to remove a person or object and you end up with some sort of distortion, simply undo your action and move on. We still have 4 different ways to remove items, so we will eventually cover how to remove anything we want.
Let's save our work up to this point.
Up next is the Patch Tool, which will take replacing objects in an entirely different direction.
|
Step 1: Intro | Step 2: Brush/Pencil | Step 3: Spot Healing Brush | Step 4: Healing Brush | Step 5:
Patch | Step 6: Content-Aware Move | Step 7: Content Aware Fill | Step 8: Clone
| Step9: Combining Tools
| Exercise |